
Dear all, welcome to my building of Space Pirate Battleship Arcadia from anime “Space Pirate Captain Harlock” – Hasegawa n°64505 Scale 1:1500
The unboxing is on this page.
You can find the reels here:
And you can follow me on these platforms:
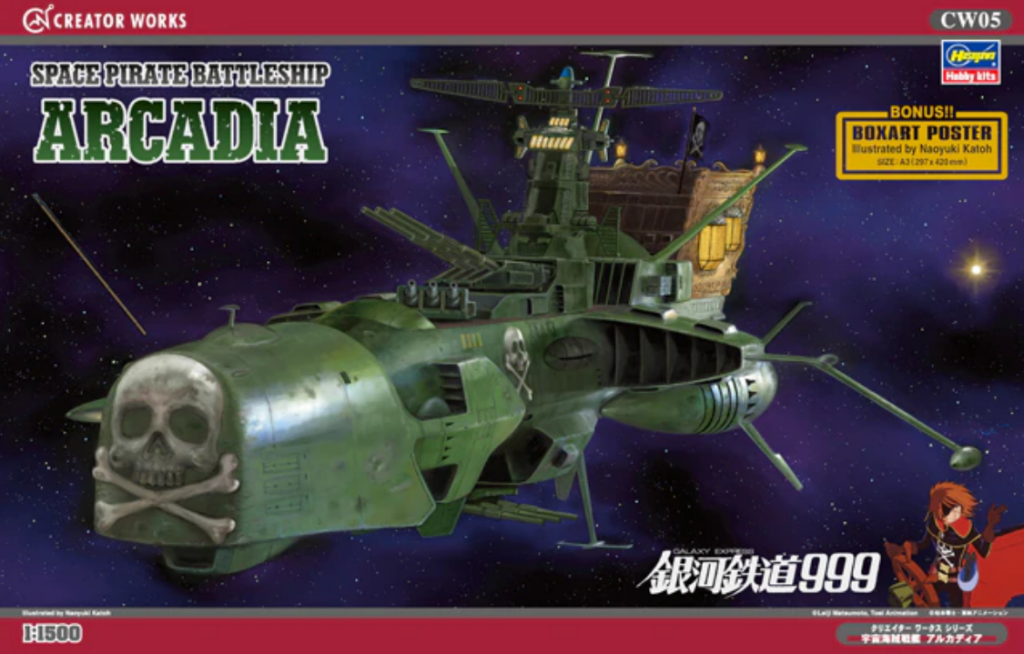
The box was in perfect conditions. In the box you can find decals andseveral goodies like the mini Galaxy Express and a couple of mini-fighters. I decided to not do them but they come with decals too.

Here are the images of the paper content of the box, in case someone is interested or lost instructions (sorry they are rotated).


As usual I cleaned all the parts in soapy water and then rinsed well. This for me it’s standard procedure and then i started to build the model starting from the wooden parts and all the rest..
I started applying a dark brown primer for the wooden parts and a deep green on all the rest. The skulls were painted in grey and then drybrushed with white. Unfortunately I did not take too many images of the process.
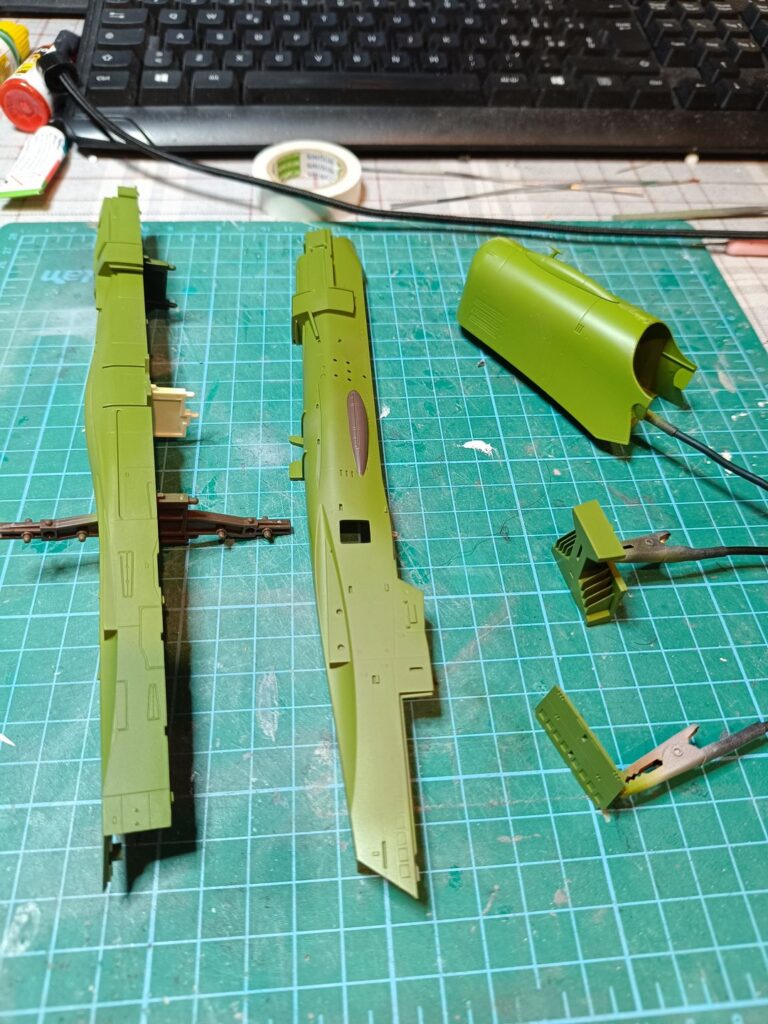
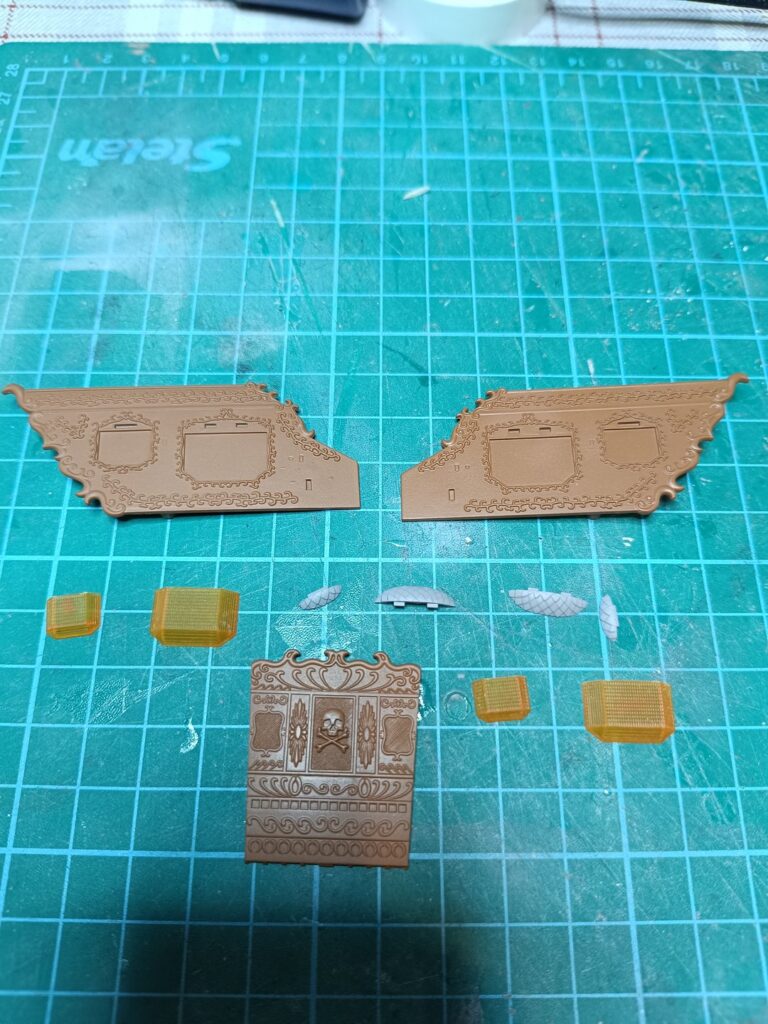

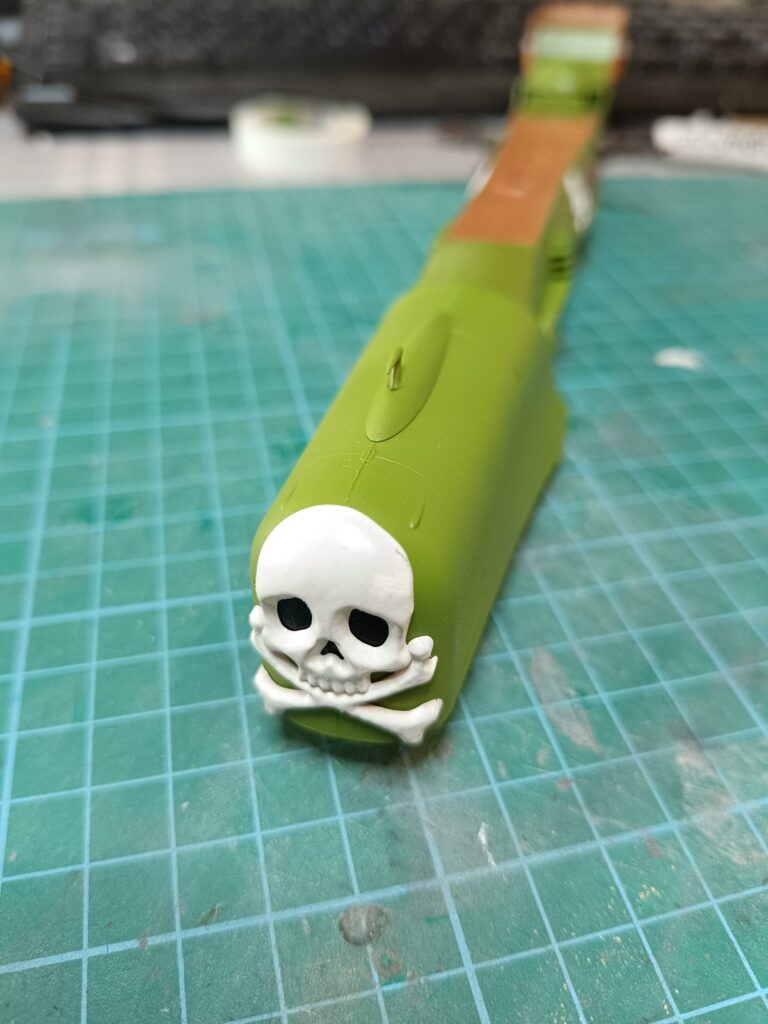
I painted the windows in yellow-orange and then I put everyhting together.

Then it was time to assembly the little parts that I did separately, like all the cannons and finally the command center.


Then I added all the lateral sections.

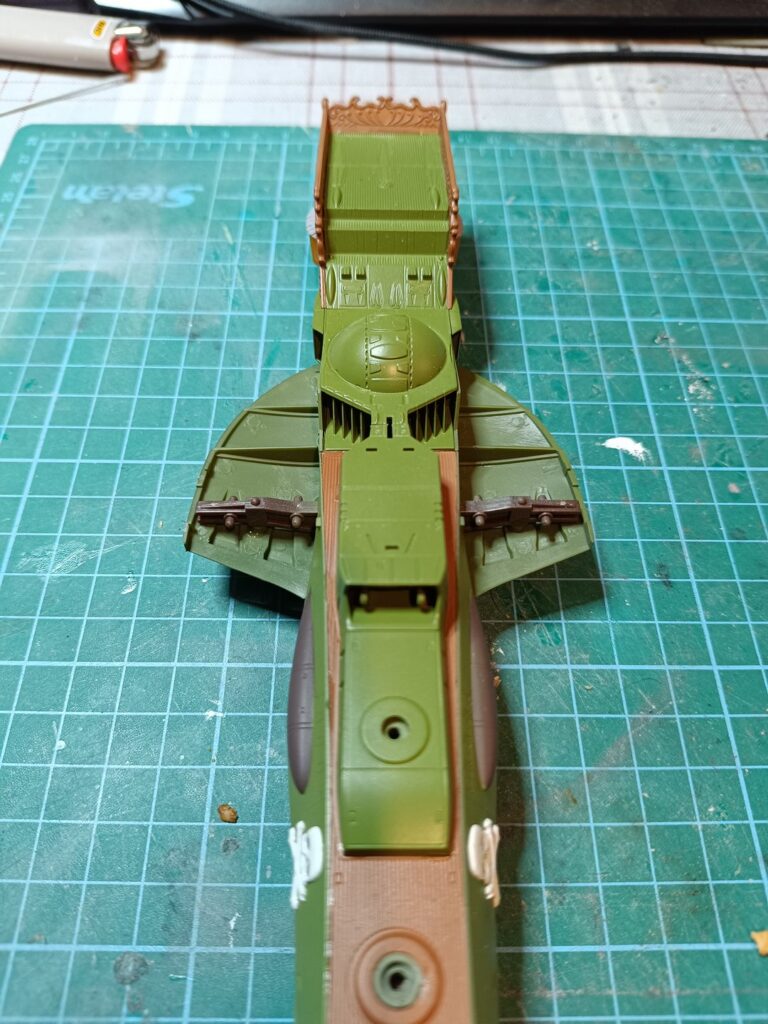
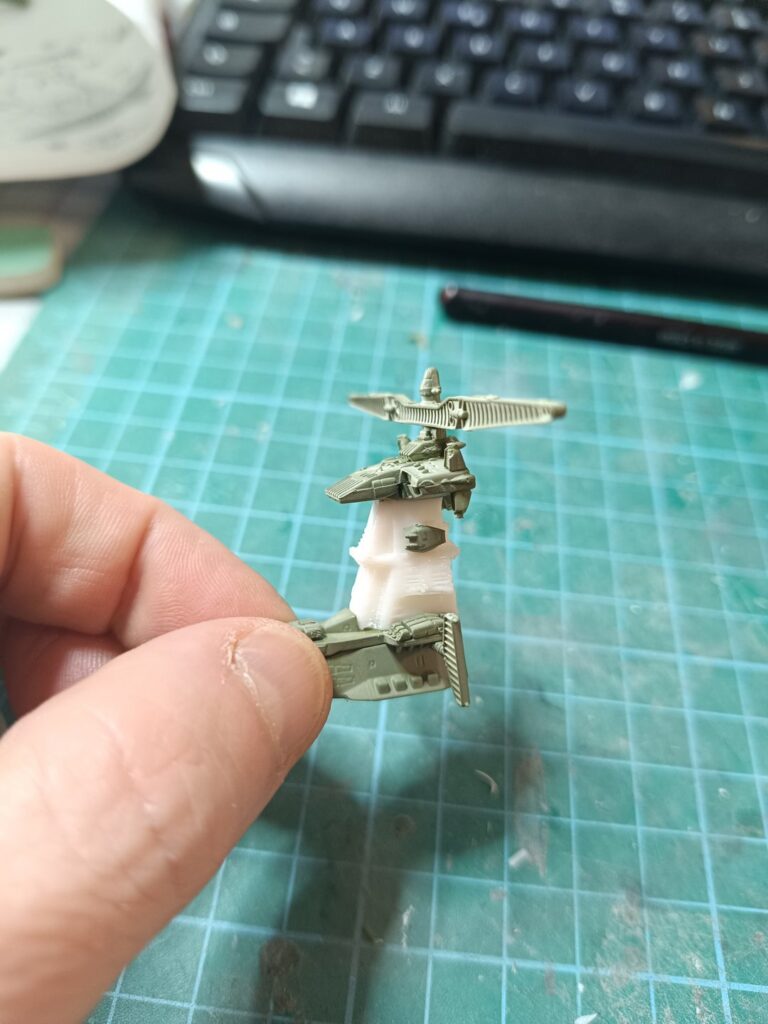
Unfortunately at this point I realized that I lost one important part of the command module. Here It’s shown in the instructions. I proceeded to find some 3d SRT available online and I found one. I resized to my needs and I printed with my 3D Printer. Then I assembled everything with special glue for PVC that apparently is very good to glue ABS and Polystyrene together.


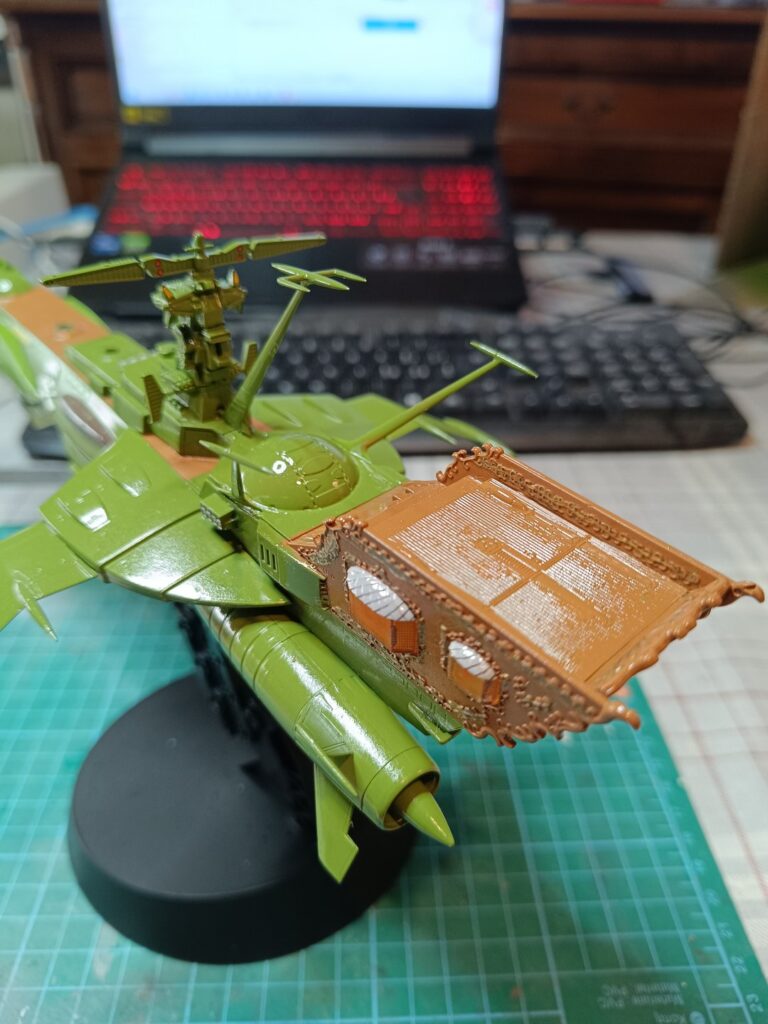
At this point as usual I did attach all the antennae and after a coat of gloss transpoarent I attached the decals. Be aware, the decals are a pain in the ass because some of them needs to be placed during the construction (mainly beyond the skulls) and others are really not collaborative. Note that Hasegawa decals tends to detach from the paper only after a long while but they are really fragile, so probably they will decompose while placing them. This is particularly true on the wooden castle in the back where everything is raised and the decals cannot slide freely.




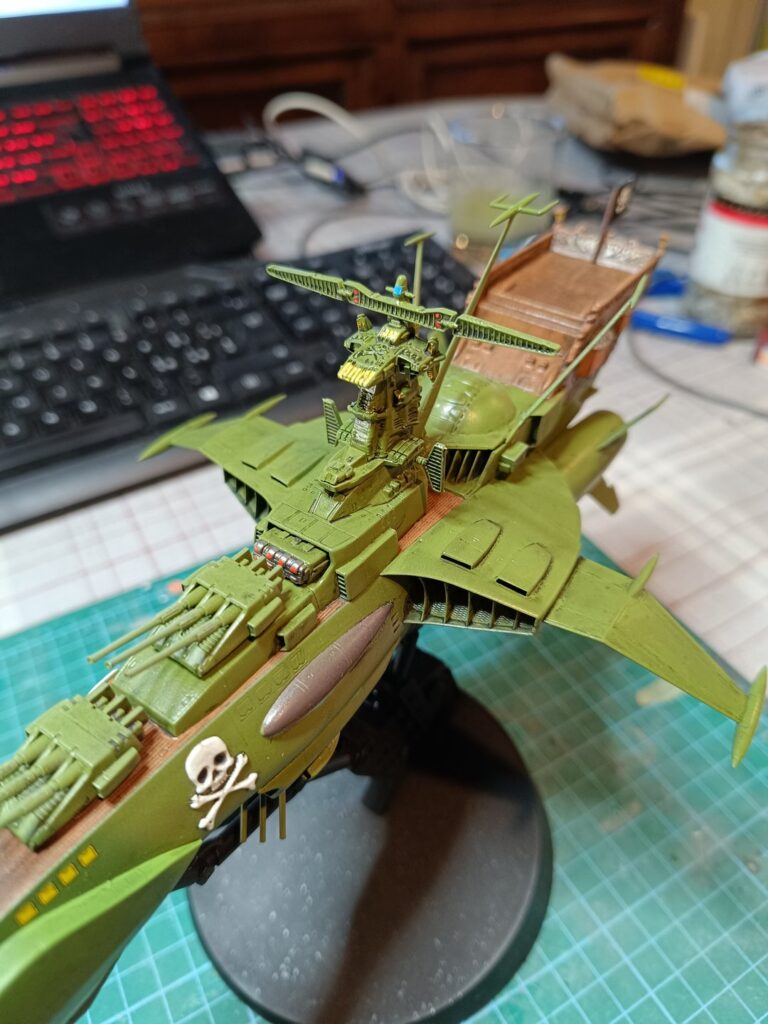
After that another gloss coat and finally some weathering. After the weathering another matte coat. And this is the final result:

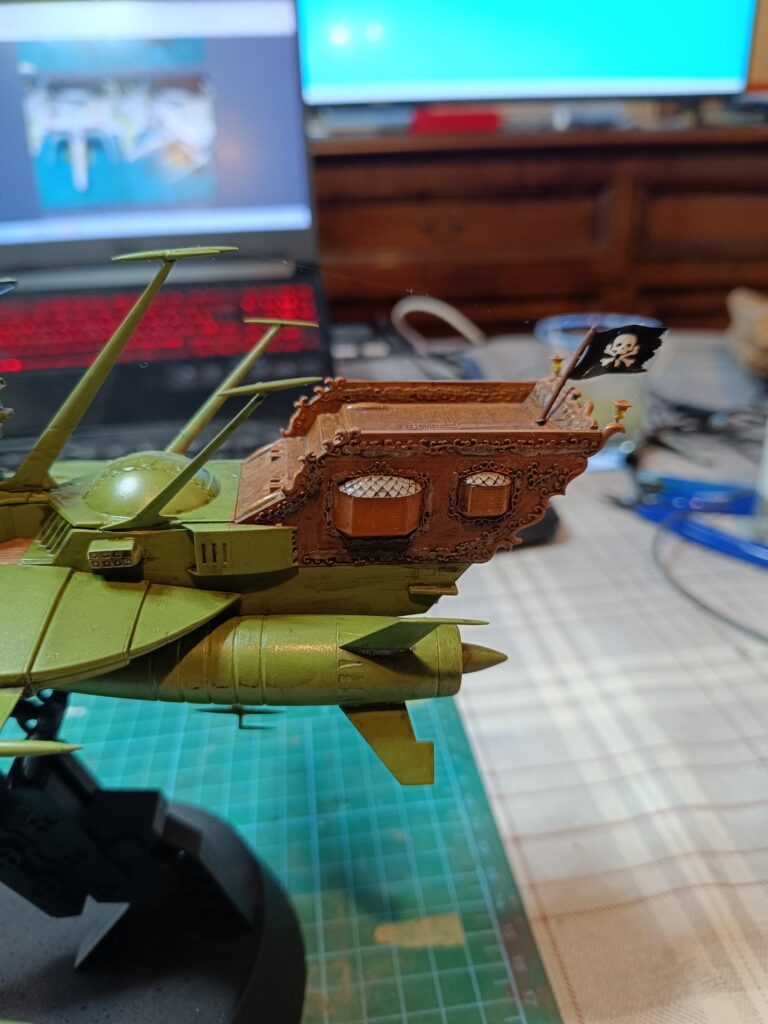
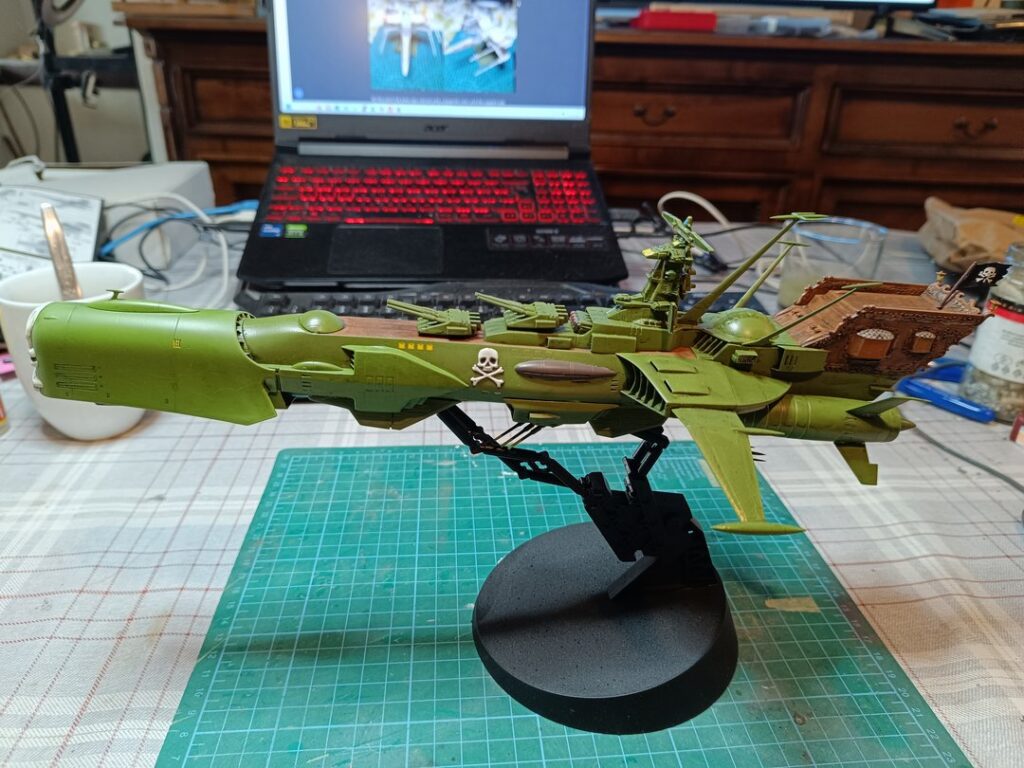
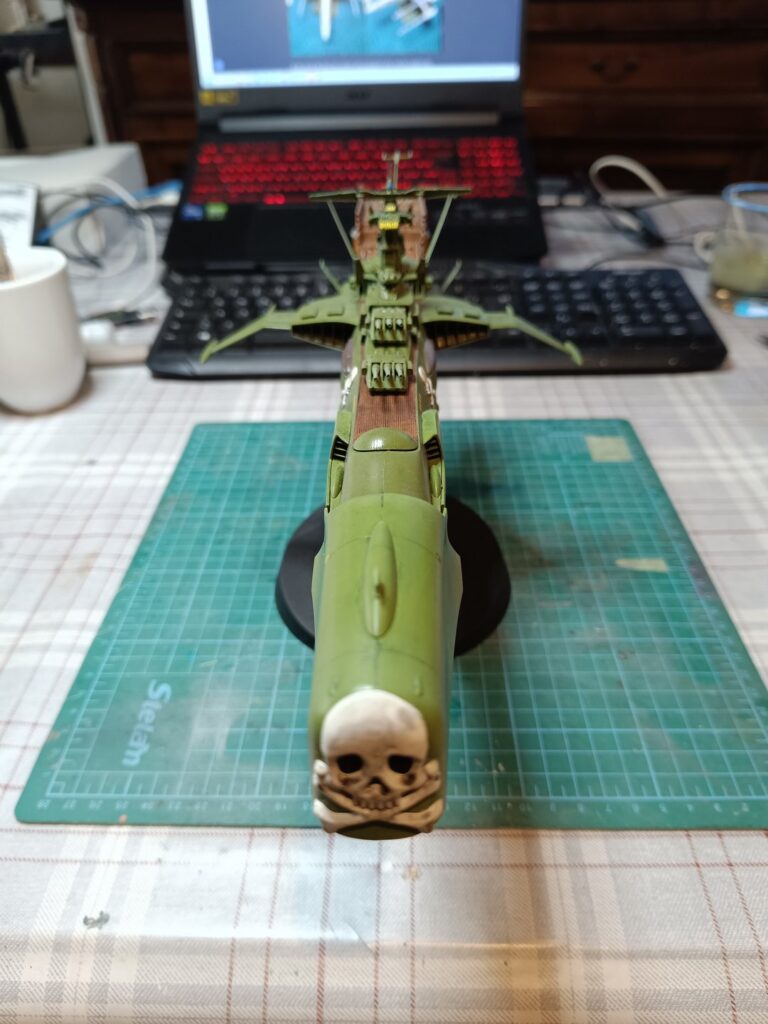

Hope you enjoyed the build !

Related posts:
 Unboxing of Space Pirate Battleship Arcadia from anime “Space Pirate Captain Harlock” – Hasegawa n°64505 Scale 1:1500.
 Printing and Painting of Grendizer
 Printing and Painting of the TFO of Koji Kabuto in Grendizer
 Unboxing of Star Blazers 2202 Space battleship Yamato 2202
 Robby 3d printed from “The Forbidden Planet”
 Robonoid from anime Conan Future Boy printed with Creality Ender Neo 3
 Building of the USS Enterprise NCC-1701-C from AMT 1332M 1:1400
 Eagle Transporter from Space:1999
 Star trek USS Excelsior NCC-2000 from AMT (1:1000 1257)
 3D Printed Mazinger Z with Creality Ender Neo 3
Leave a Reply
You must be logged in to post a comment.