
Dear all, welcome to my building of Star Wars AT-ST from Bandai Spirits n°5064105 Scale:1:48
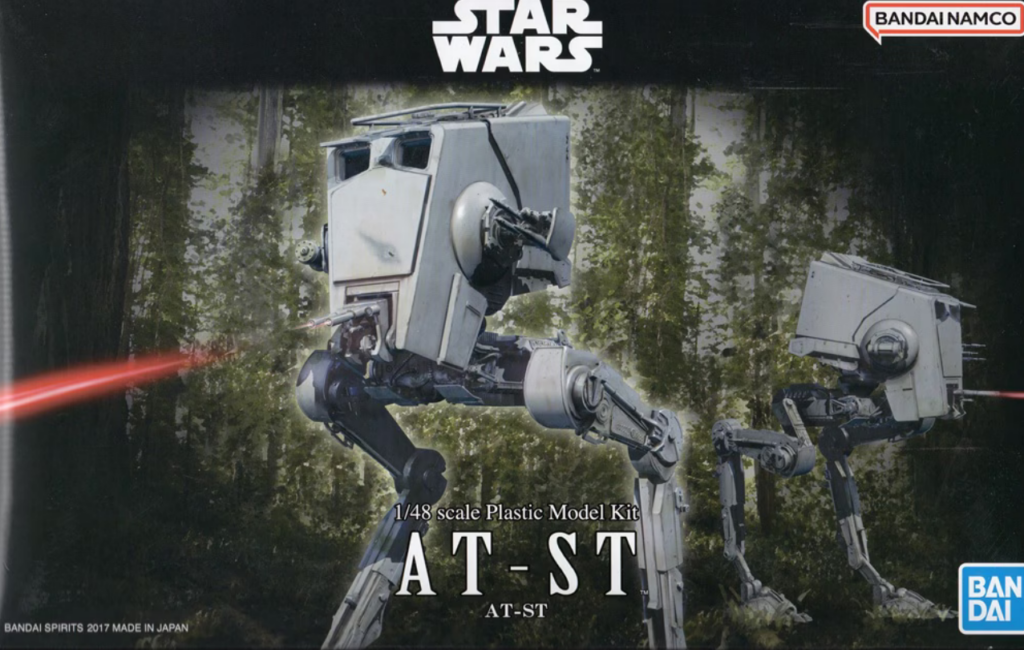
The box was in perfect conditions and wrapped in the cellophane.


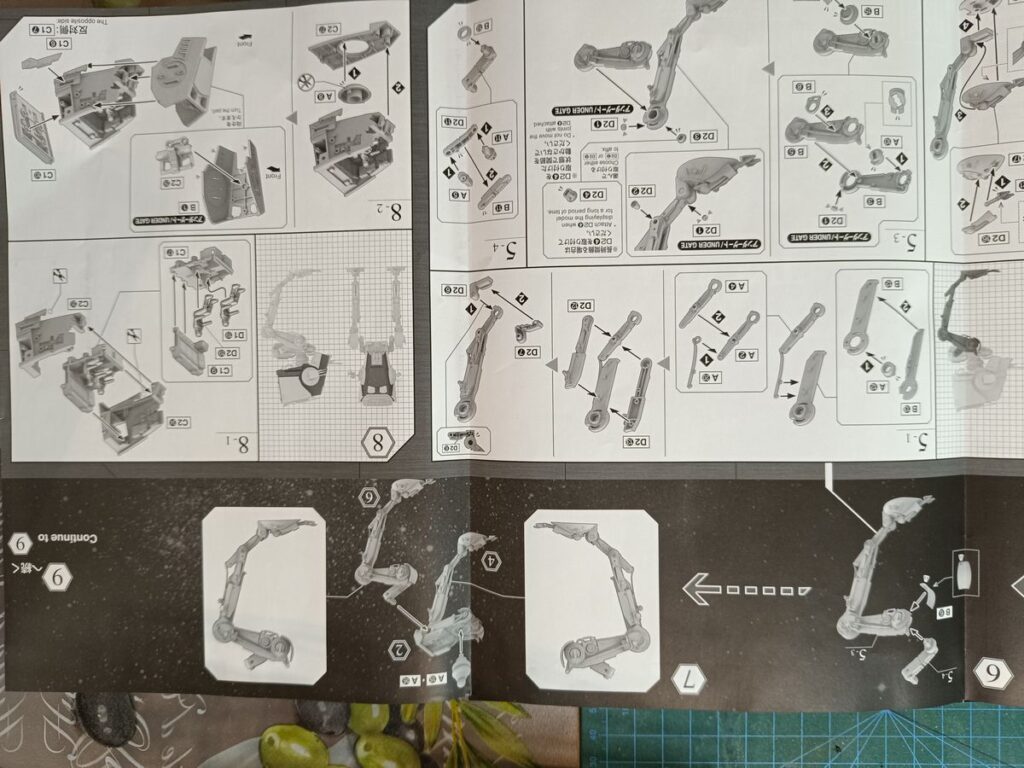
Here are the images of the paper content of the box and the decals available, in case someone is interested or lost instructions (sorry they are rotated).
As usual I cleaned all the parts in soapy water and then rinsed well. This for me it’s standard procedure and then i started to build the model.
I started applying a grey primer on all the parts and coloring only something different (like the black inside of the screen port in the Spherical module.

I started with a try of assembling some of the parts at first to see if they fit well. Then I had the difficult choice of deciding if to paint the internal of the command section.
In the end I decided to paint the internal and the two troopers inside.
At the same time I decided to keep all the windows and the hatches open in order to see the inside.
Not satisfied at the end I left the possibility to uncover the upper part to see the inside without gluing it.
I primered all the parts and started to assemble everything outside.

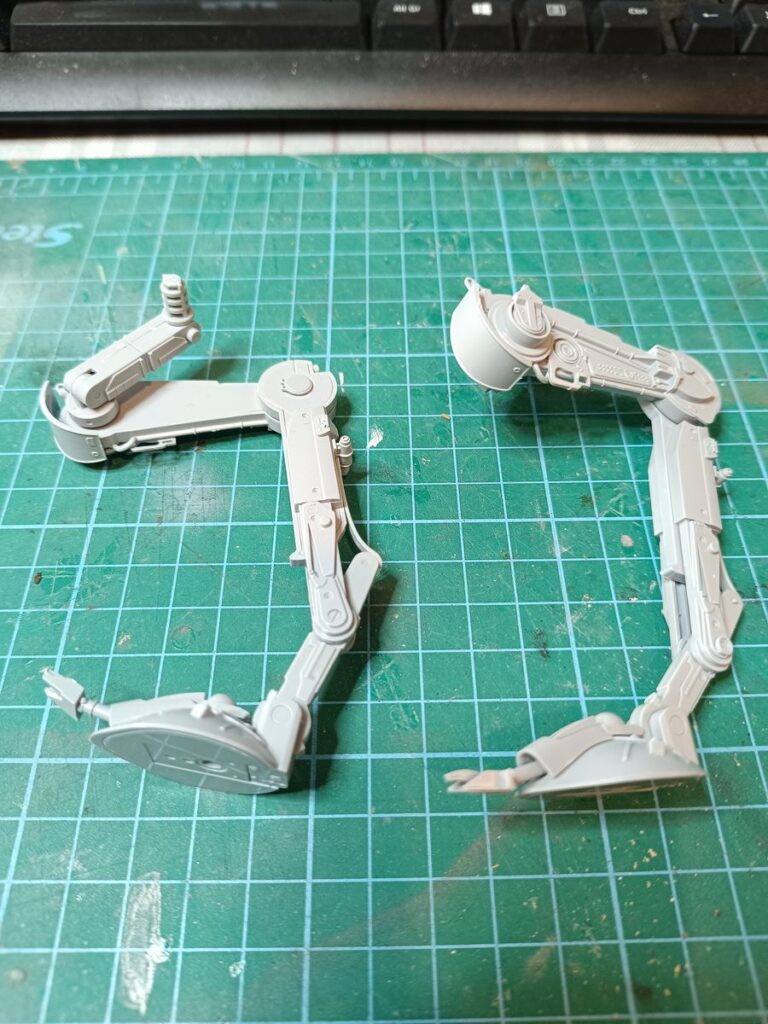

Then I started to paint the inside of the cockpit and the two Stormtroopers. Though they are basically hidden, I decided to not glue the upper section in order to be removed just to show the inside.


Then moving back to all the other parts in sections.

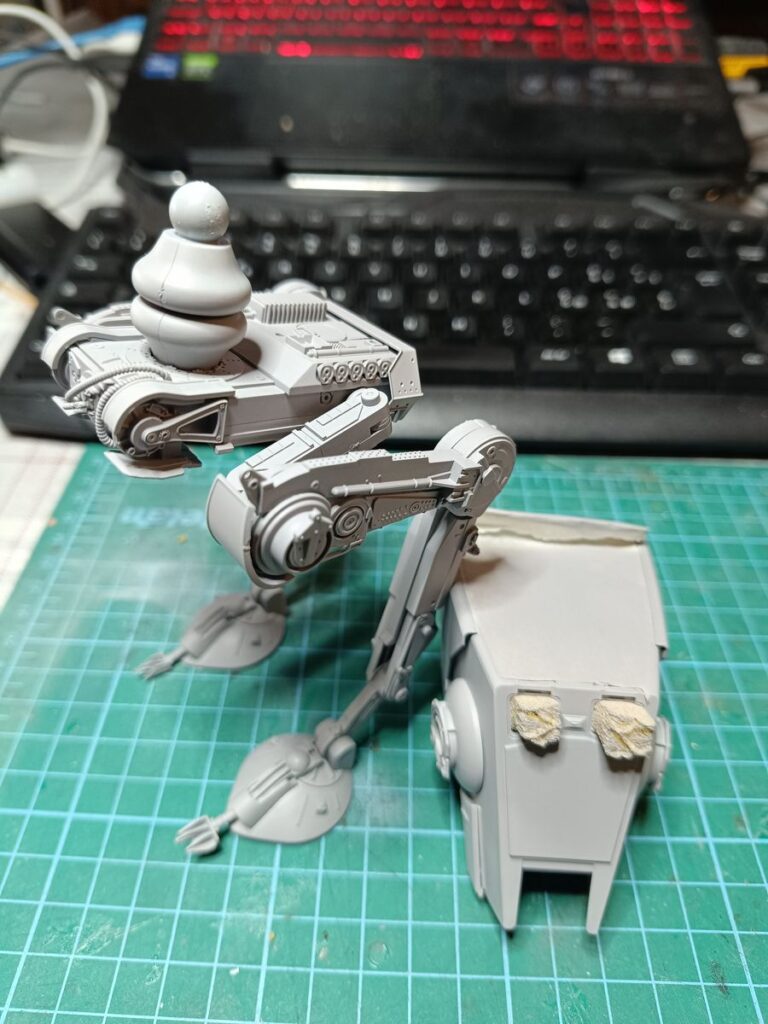

Then time to assemble the little parts and then start the preparation of the base. The idea was to have the base similar to a pud-wet terrain with some grass; I will show later.
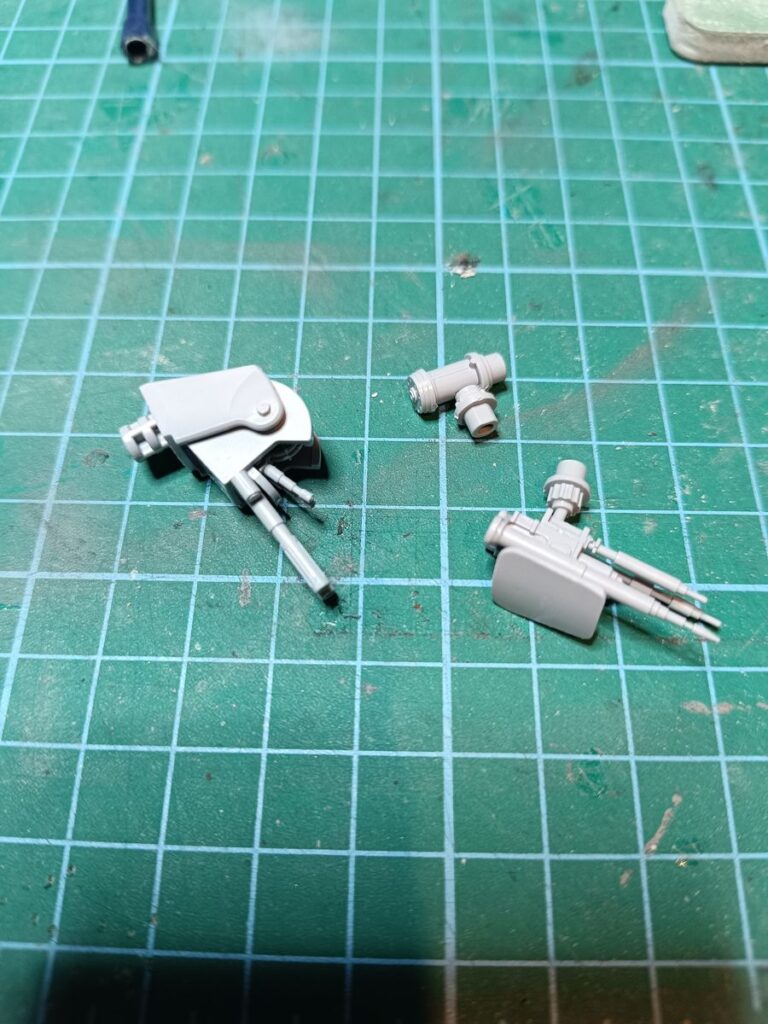


I first applied the very few decals and then started to paint some little parts of different shades of gray. A final coat of transparent spray and then some heavy weathering.


This are the steps for the base, first painted, then colored and as a final touch a transparent resin poured just into the base (that I surrounded with a tape to avoid spillings. Final touch some antistatic grass placed strategically.


At this point the model was finished. I just tried to use pigments in order to “dirty” the legs and the inferior part of the cockpit. This is the final result after a good coat of matte transparent.


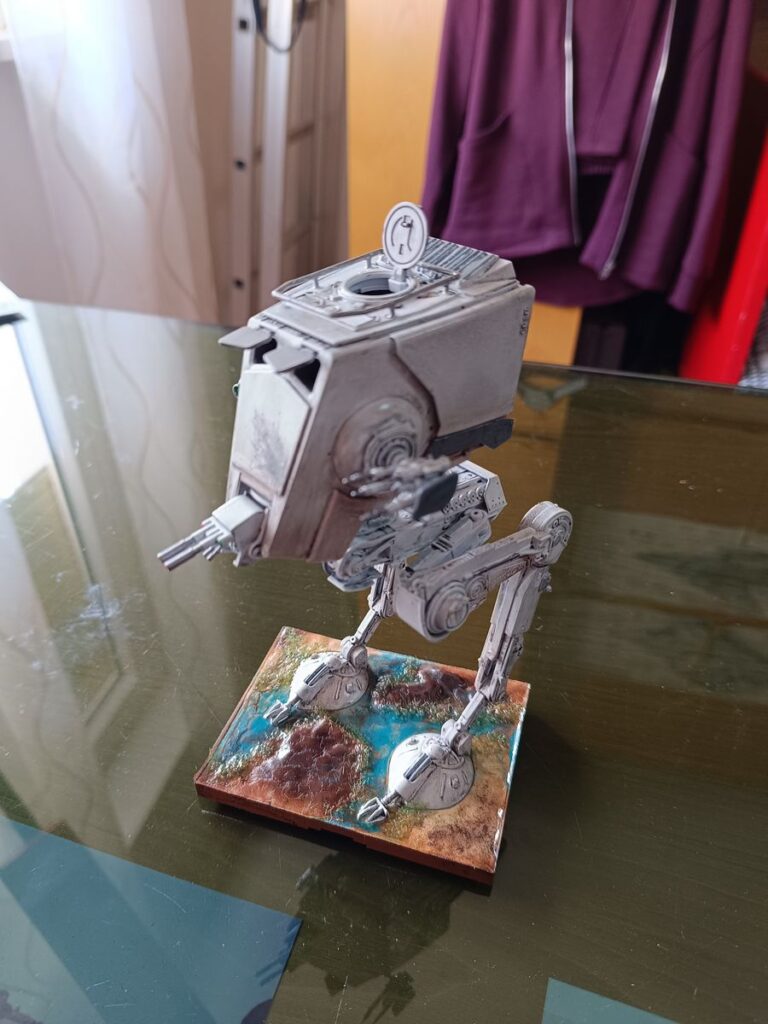

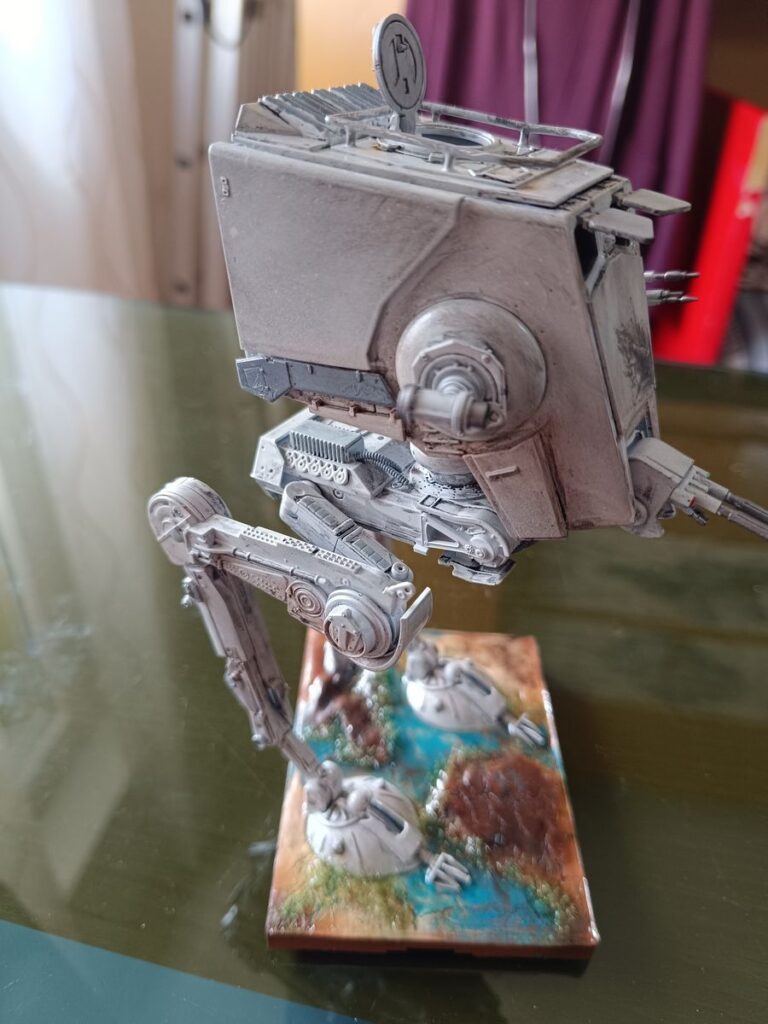


Hope you enjoyed the build !

Related posts:
 X-Wing Starfighter Bandai No. 0191406 scale 1:72 2014
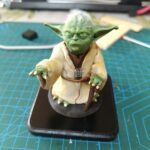 Master Yoda from Star Wars Printed with 3D printer
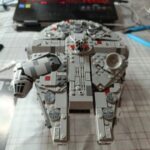 LEGO Millennium Falcon n° 75375, 921 Pcs
 Star Wars Death Star II & Star Destroyer Bandai 5063852 scales 1:2700000 and 1:14500
 Star Wars AT-AT – Bandai Spirits n° 5063846 Scale 1:144
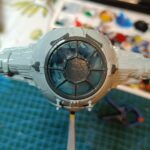 Tie-Fighter – Star Wars / Limited Edition Revell No. 06051 scale 1:65 – 2017
 Unboxing of Star Wars AT-ST from Bandai Spirits n°5064105 Scale:1:48
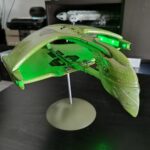 Romulan Warbird D’deridex Class Battle Cruiser AMT No. 1125 scale 1:3200 2019
 Unboxing of Star Blazers 2202 Space battleship Yamato 2202
 Discovery XD-1 from 2001: A Space Odyssey, Moebius Models N° 2001-8, scale 1:350
Leave a Reply
You must be logged in to post a comment.