
Dear all, welcome to my building of Star Trek – Generations U.S.S. Enterprise B – AMT N° 8762 scale 1:1000 1995
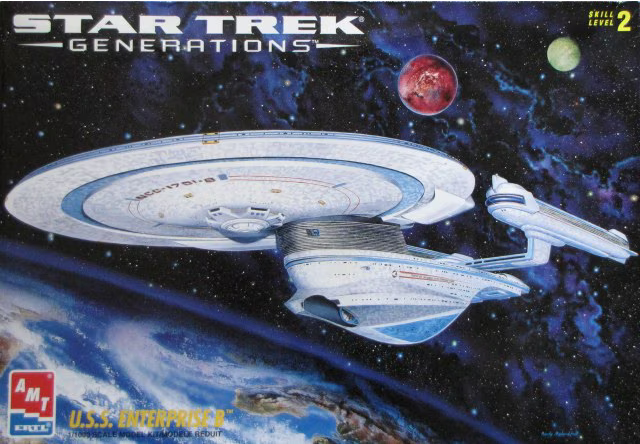
The box was opened and old but contained luckily all the parts.
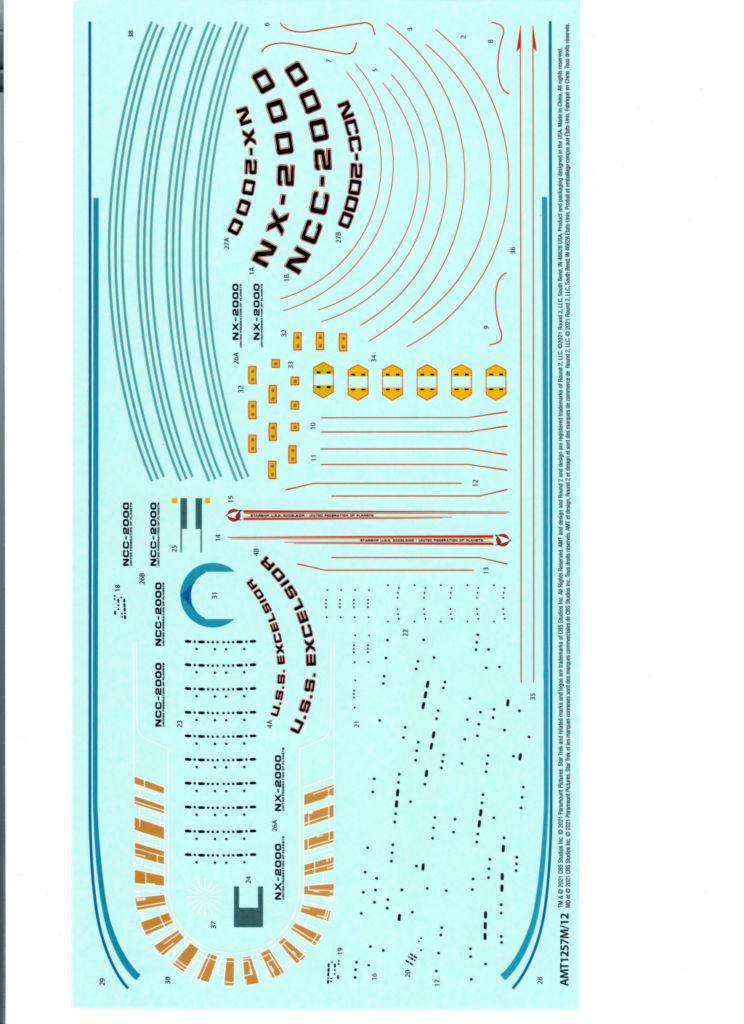
By the way I will drop HERE immediately the files that I prepared for the decals. Being the box too old and being the decals all yellowish I created a new file in Coredraw from the original ones and from the Excelsior Kit that I already did. The result is a printable file in PDF to be printed at original scale.

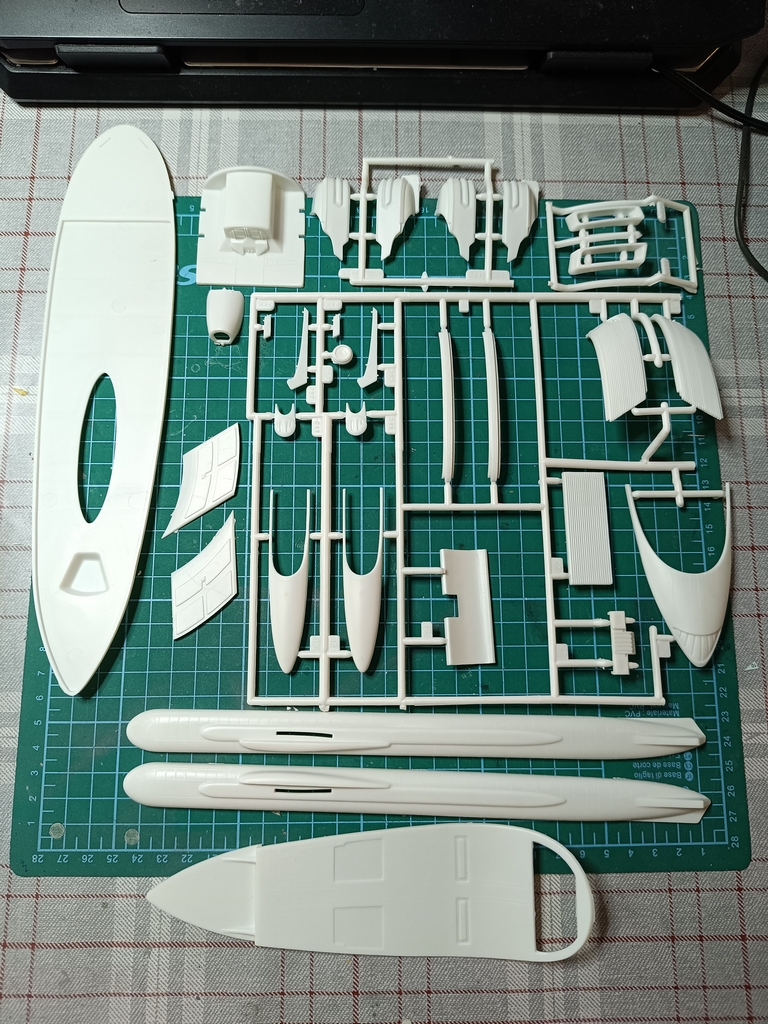
As usual I cleaned all the parts in soapy water and then rinsed well. This for me it’s standard procedure.
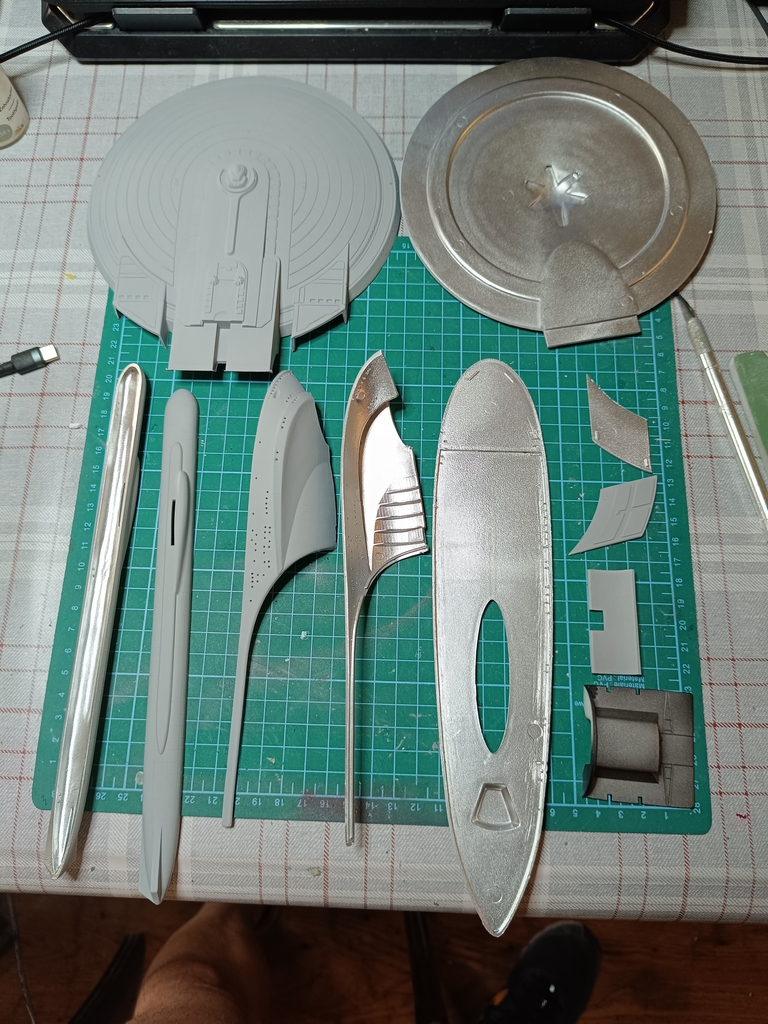
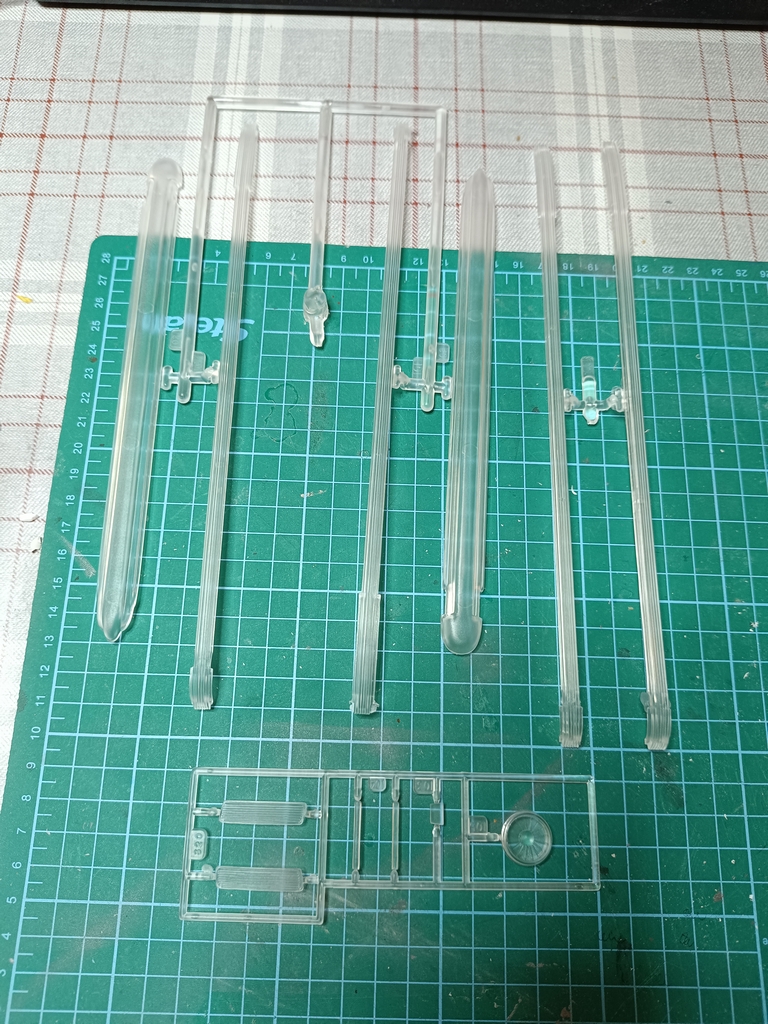
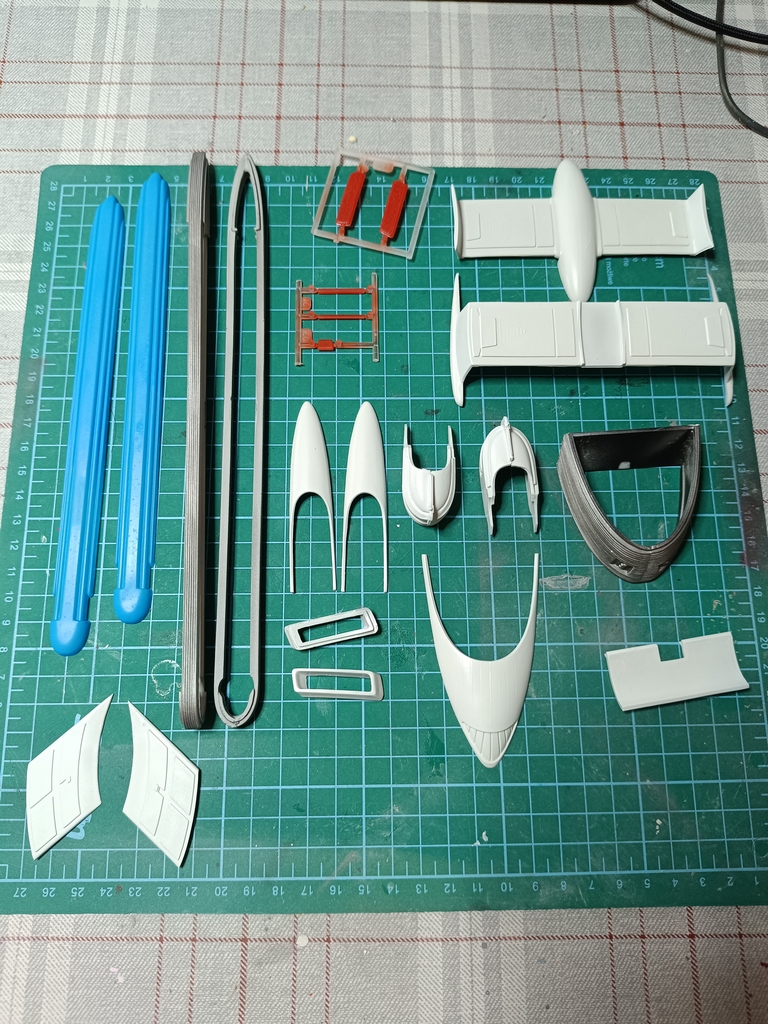
The parts are all pictured here:


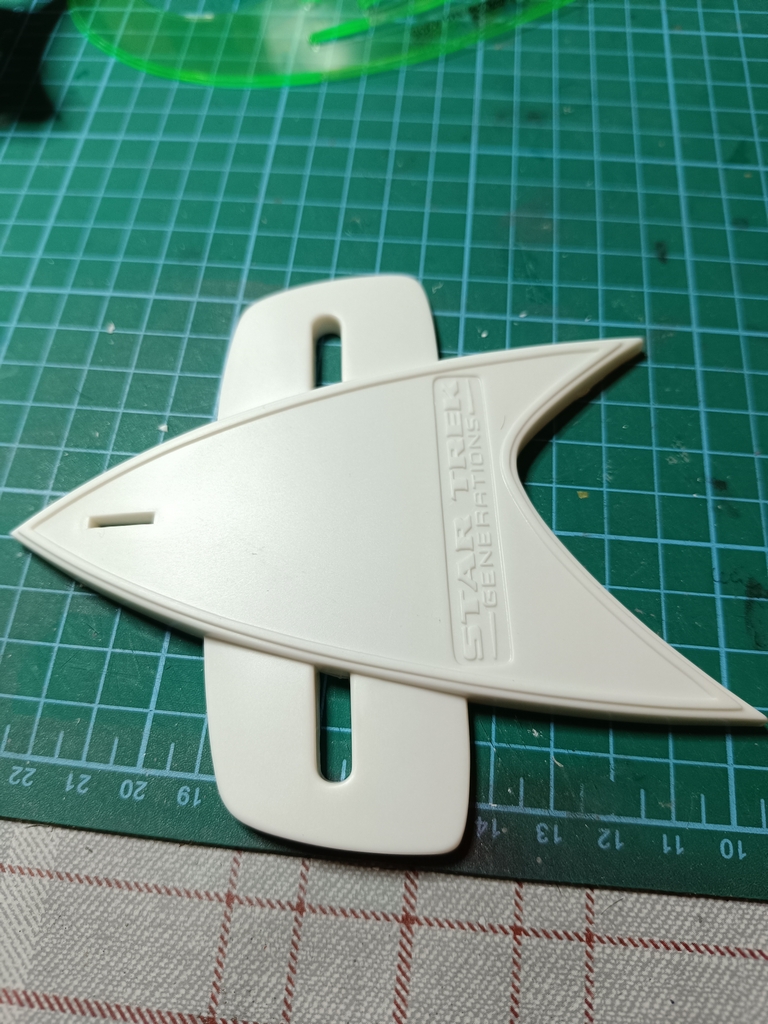
Then I reinforced the base (the base with the logo of starfleet and I applied some modifications in order to be able to put lights on the model. I added the two sides from a styrene sheet, then I added the metallic rod in the middle. Painted with grey primer and then in black. You can see the little button on the side for turning on the lights, that I will explain later.


First thing first is a layer of grey primer on all the pieces and a layer of transparent matte on all the transparent part to be able to paint them correctly. For the inside I used the classic chrome spray in order to scatter better the light.
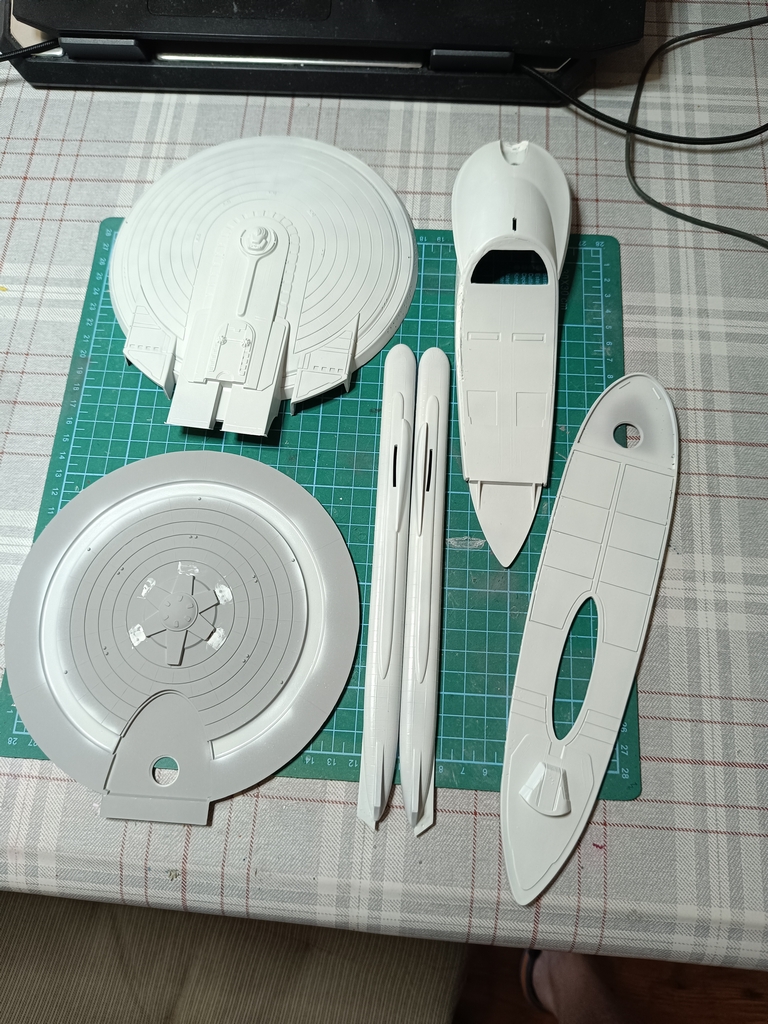
Then I started to paint the single pieces in their basic colors. Mainly here is light blue, light grey, some shades of darker gray somewhere and a couple of things in yellow and red.


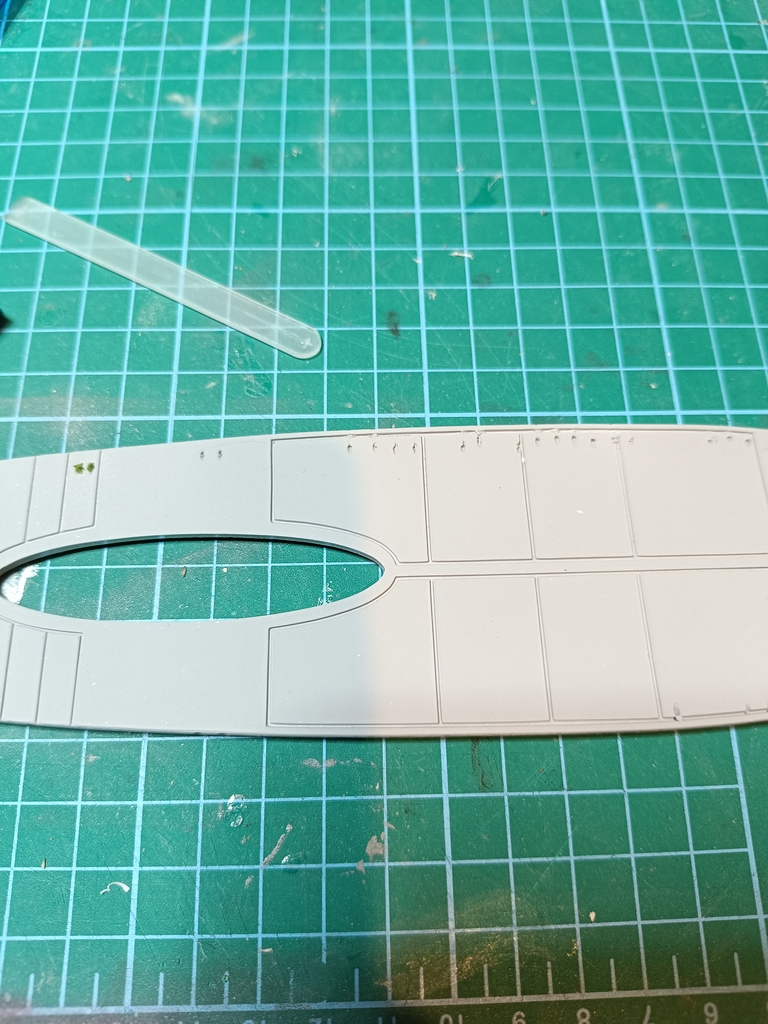
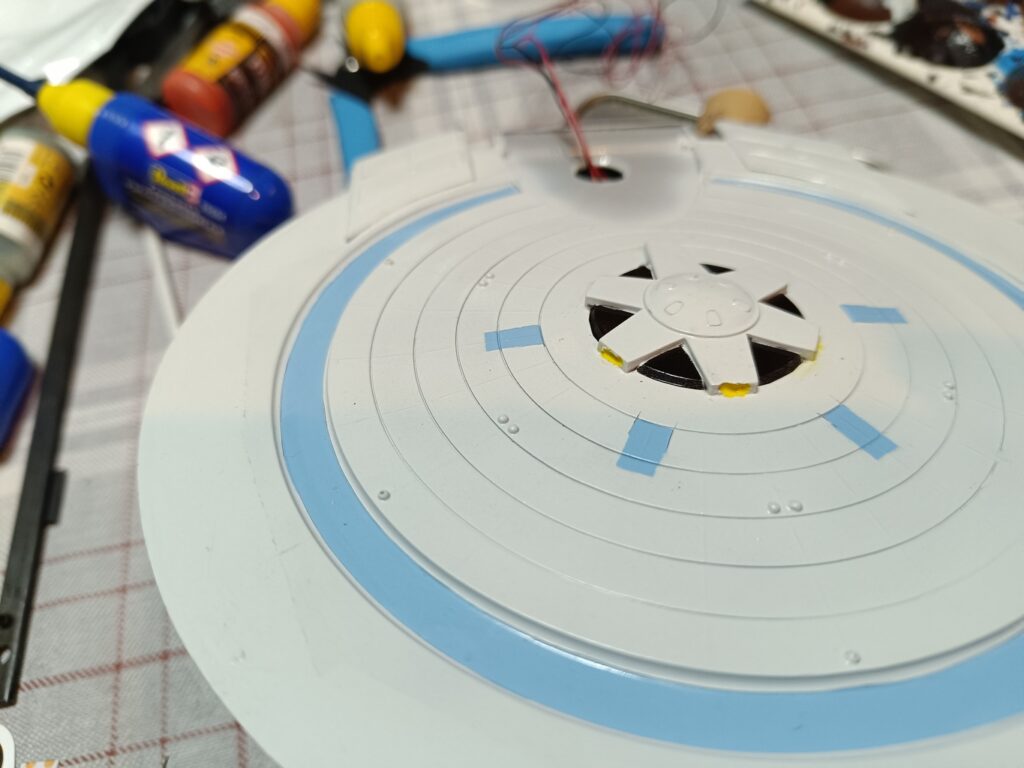
The most difficult thing was to recreate all the windows that are missing, so i drilled holes everywhere, sometimes with bad results. The holes were they covered with crystal clear glue with added colors where needed, like in the lower openings of the main section.

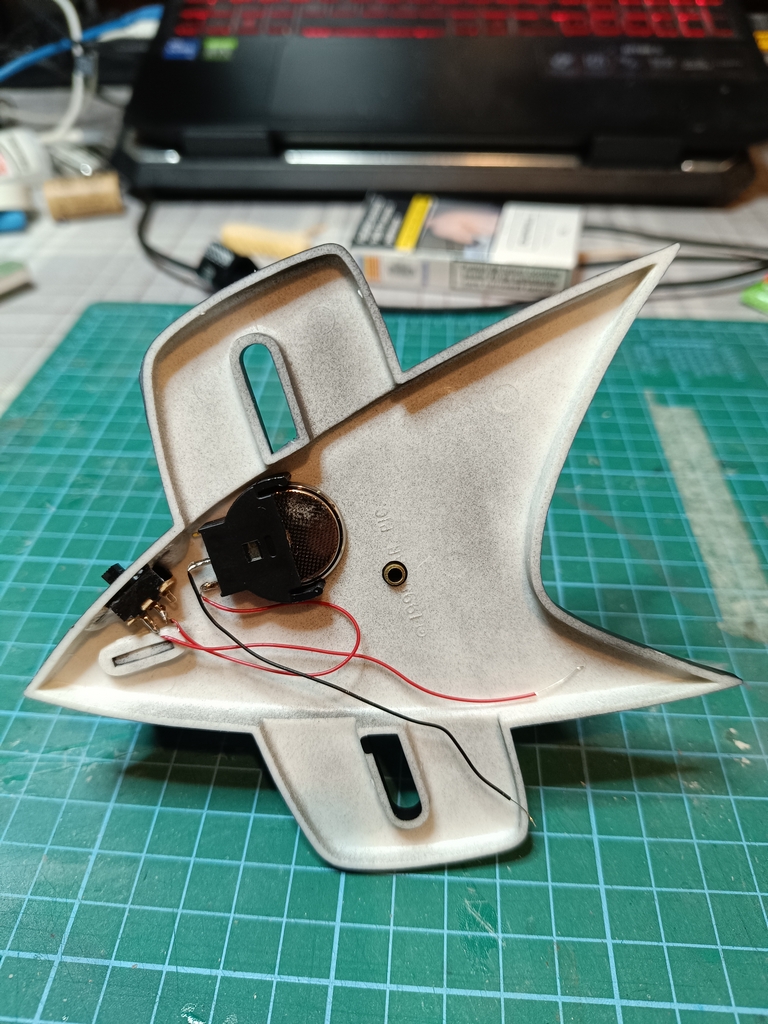
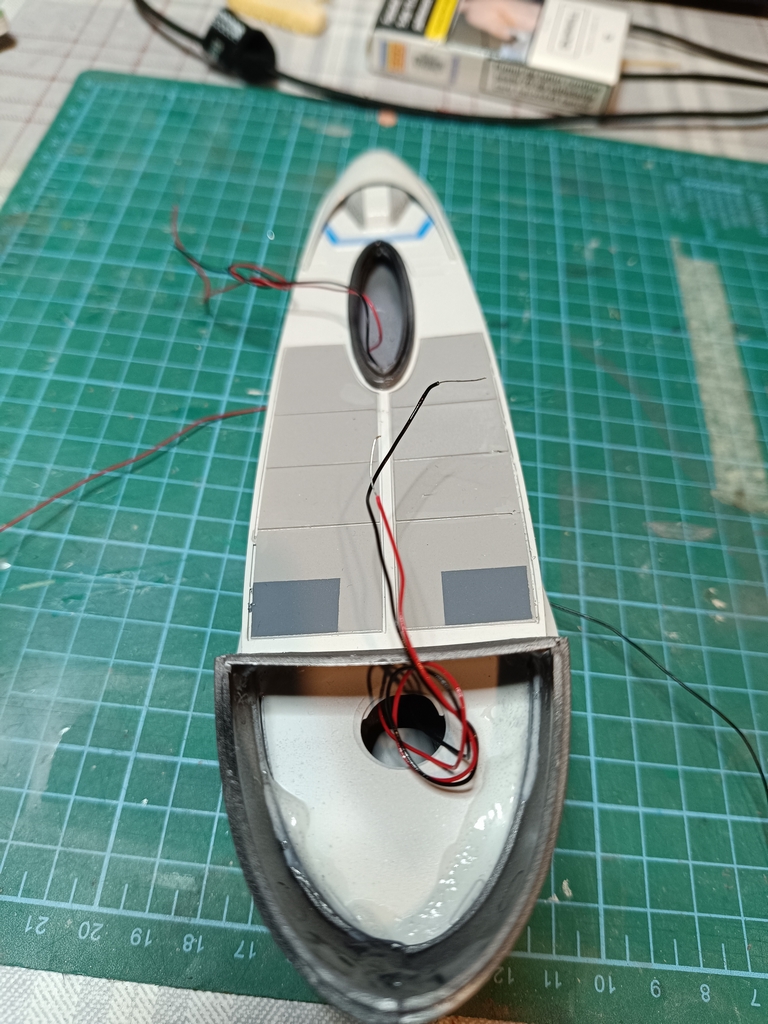
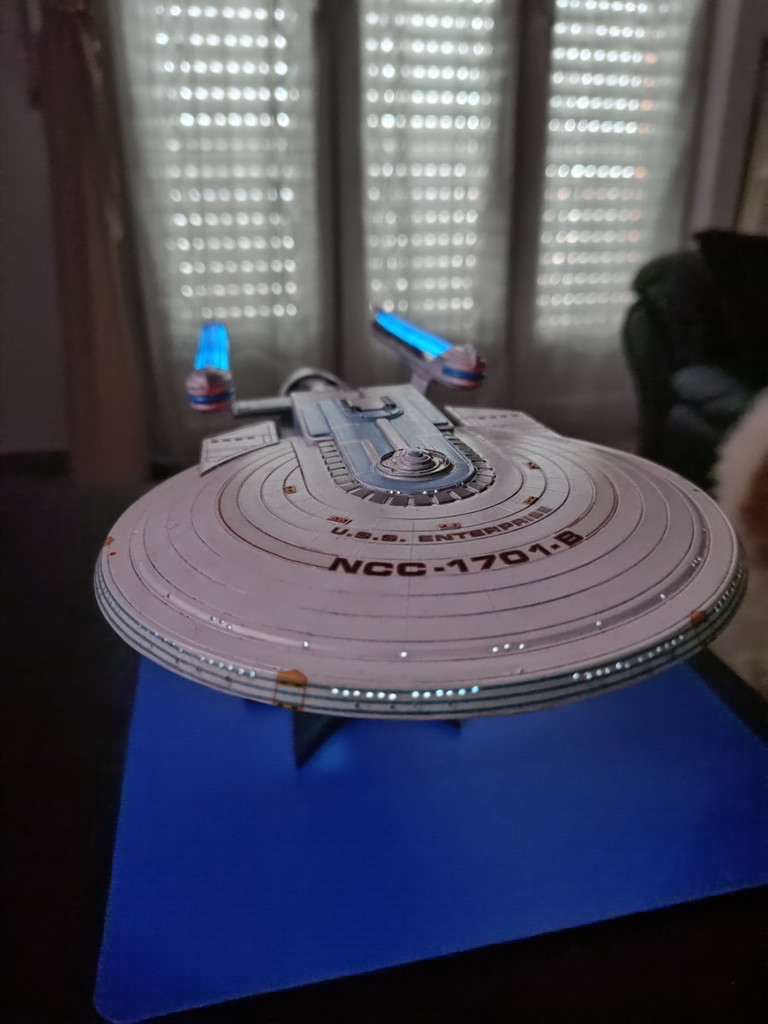
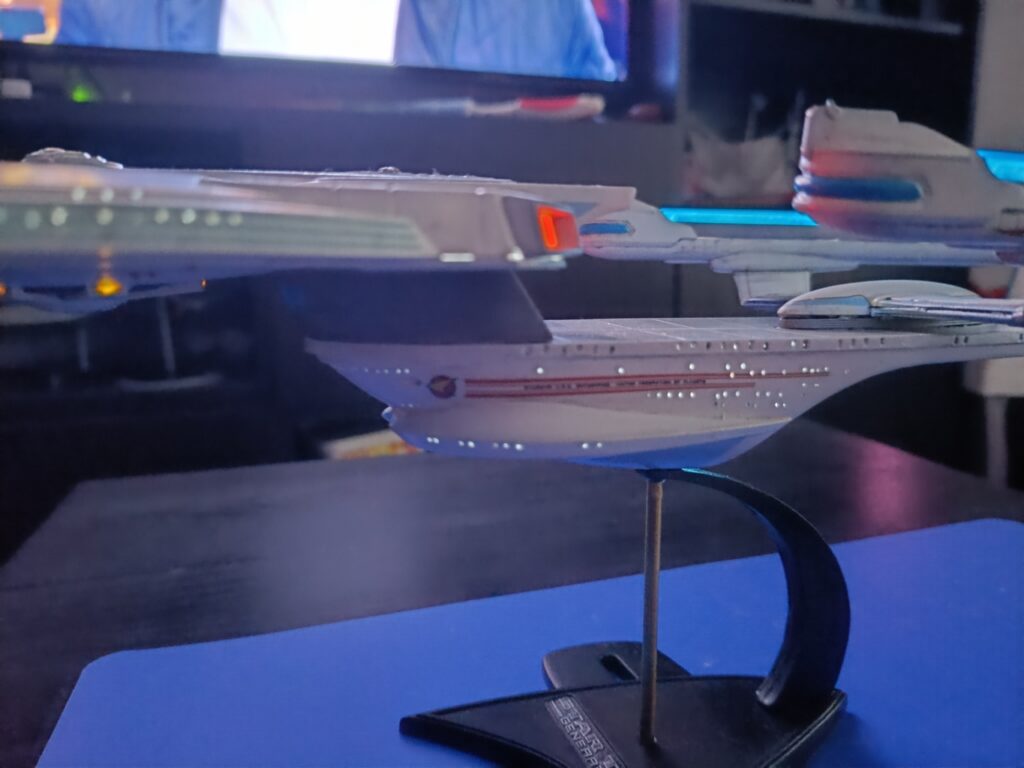
After I finished painting everything I started to add the lights: simple strip leds 3V on the nacelles, around the main disc section (sorry but I did not take pictures) and in the main hull. Then I prepared the battery section and the switch in the bottom of the base.


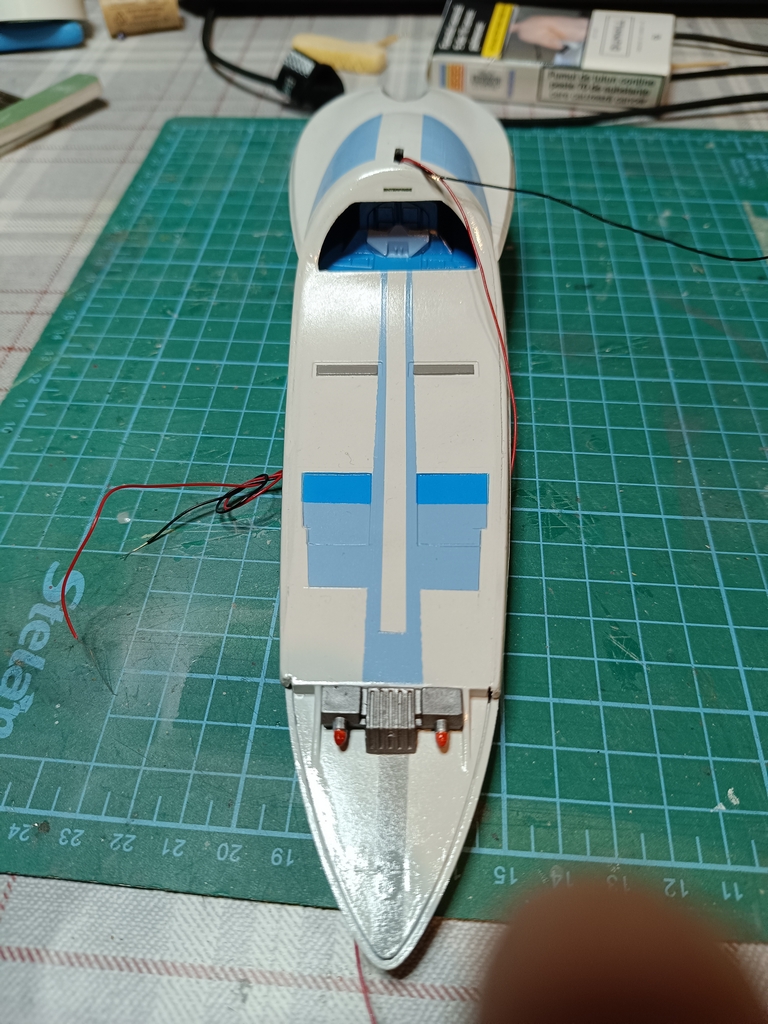
These are the pics of all the sections with lights inside and with wires going out for future connection.


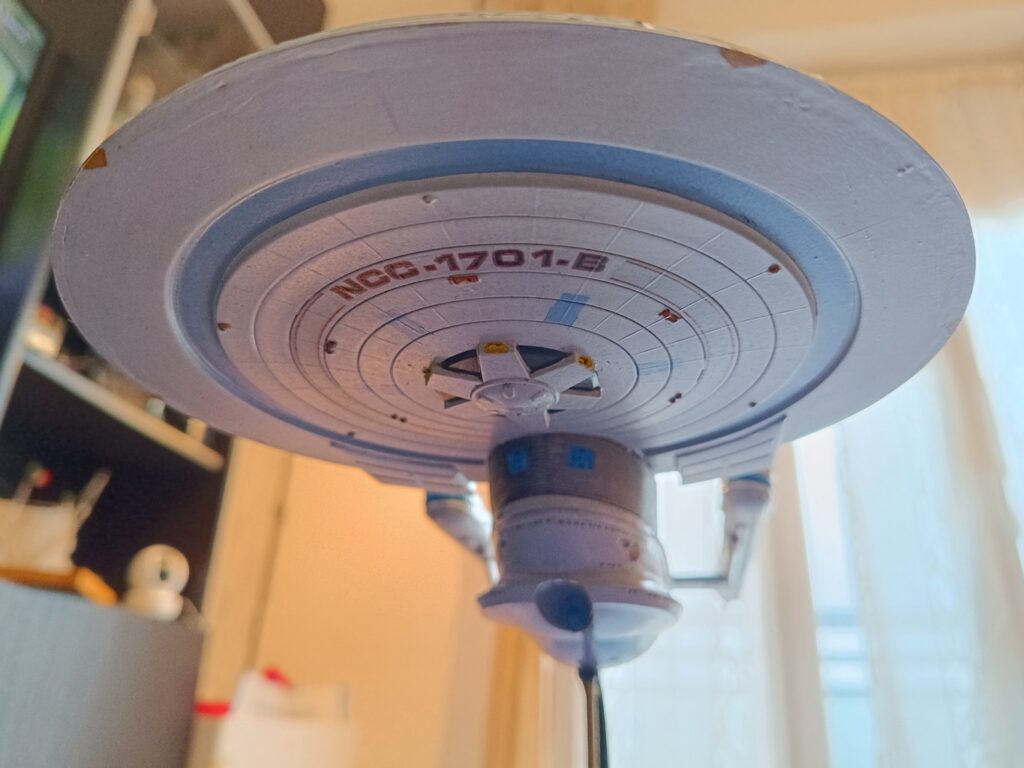
Everything was painted with gloss paint and the decals were applied.
After that I went with the weathering, using mineral oil and oil paint very diluted. These are the parts all separated.


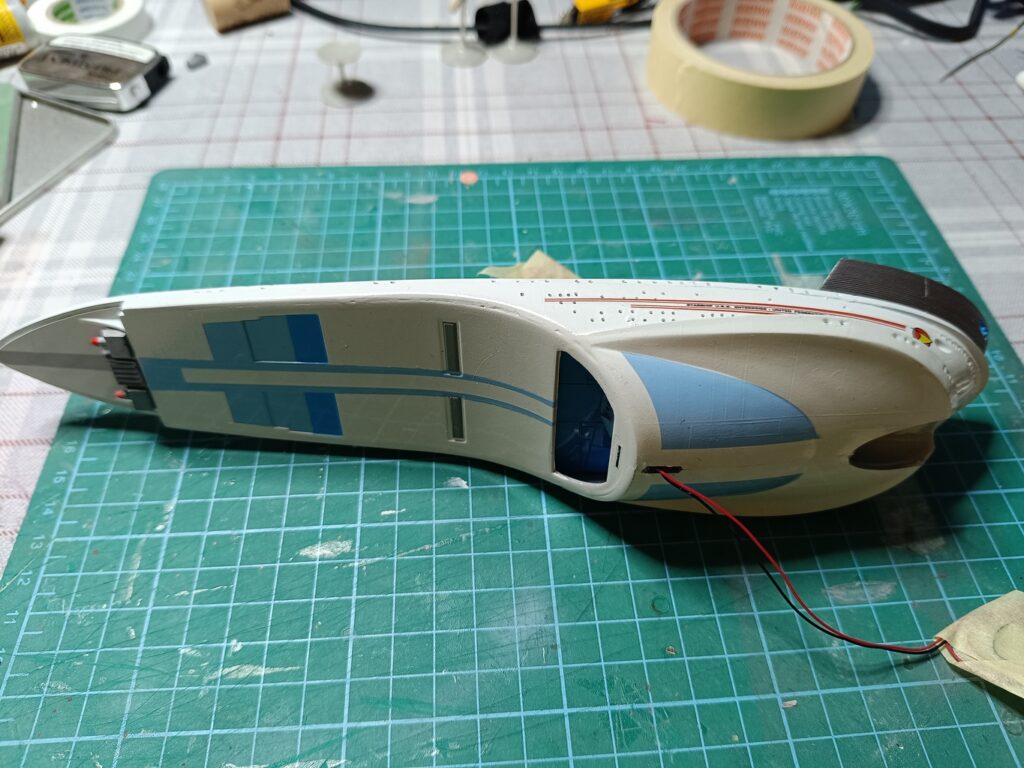
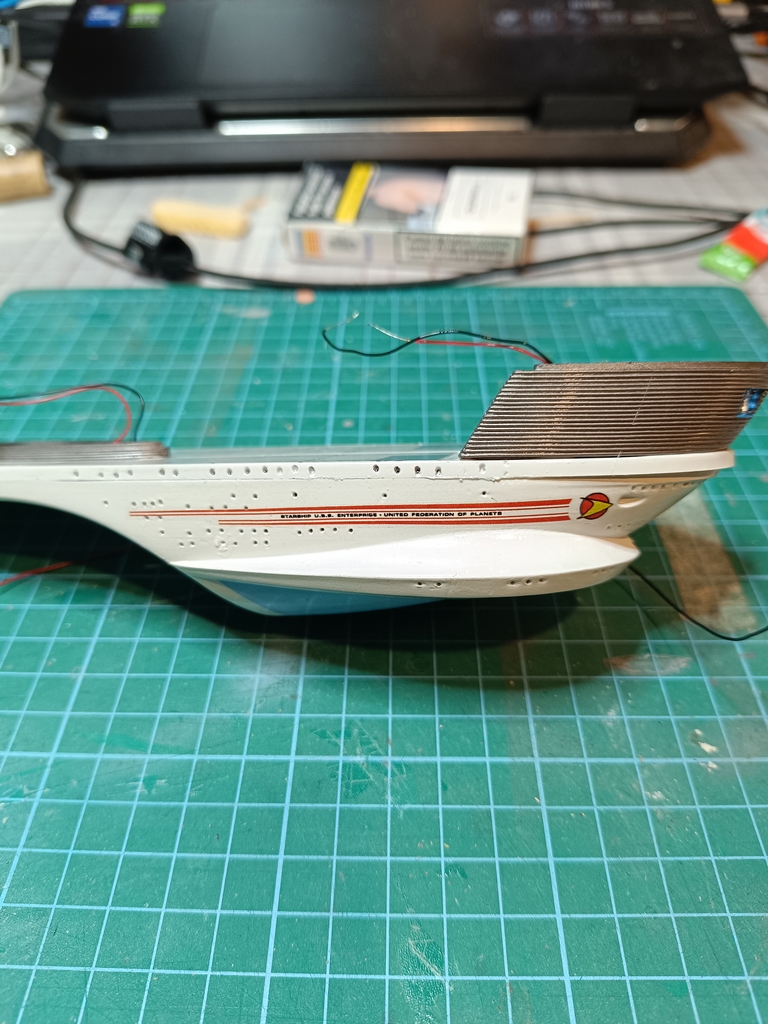
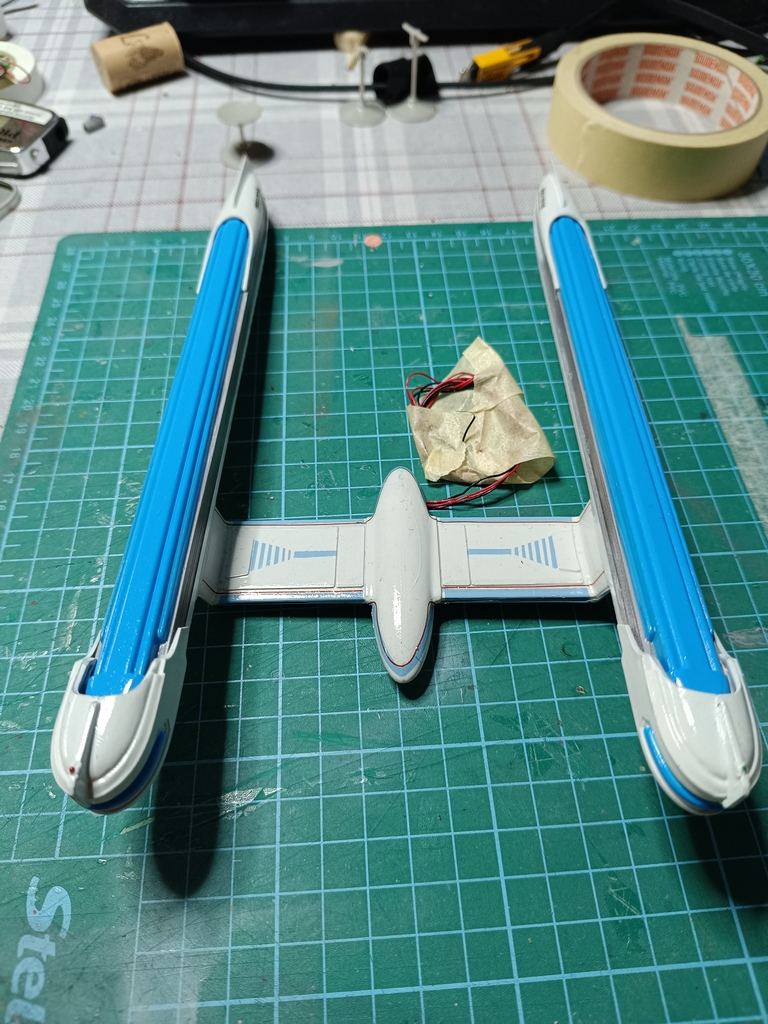
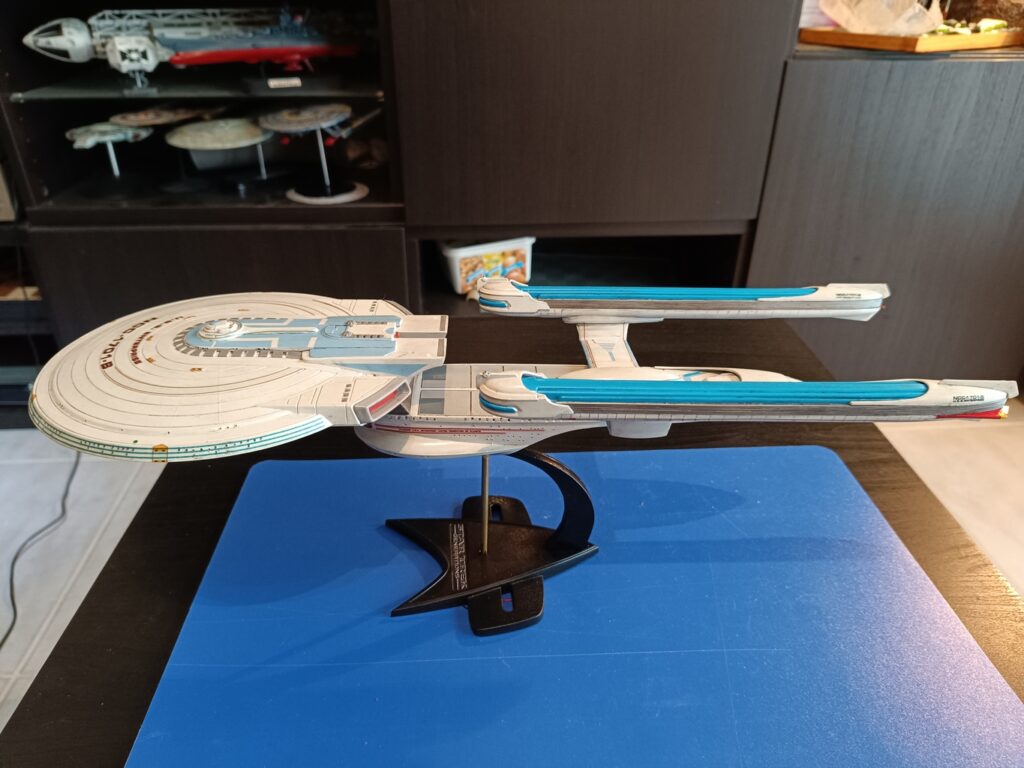
And finally the complete result, with lights off and lights on as well.




Hope you enjoyed the build !

Related posts:
 Building of the USS Enterprise NCC-1701-C from AMT 1332M 1:1400
 Klingon Bird of Prey AMT No. 1400M scale 1:350
 Romulan Warbird D’deridex Class Battle Cruiser AMT No. 1125 scale 1:3200 2019
 USS NCC-1701-E Enterprise E
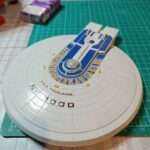 Star trek USS Excelsior NCC-2000 from AMT (1:1000 1257)
 Star Trek USS Cerritos NCC-75567
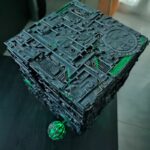 Borg Cube
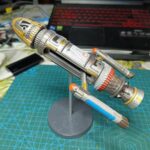 Printing and painting of the Phoenix
 Star Trek: Enterprise
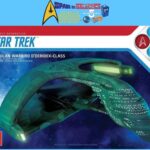 Unboxing of Star Trek Romulan Warbird D’deridex Class Battle Cruiser AMT (scale 1:3200 N°1125)
Leave a Reply
You must be logged in to post a comment.