Welcome to the build of Star trek USS Excelsior NCC-2000 from AMT (1:1000 N°1257)
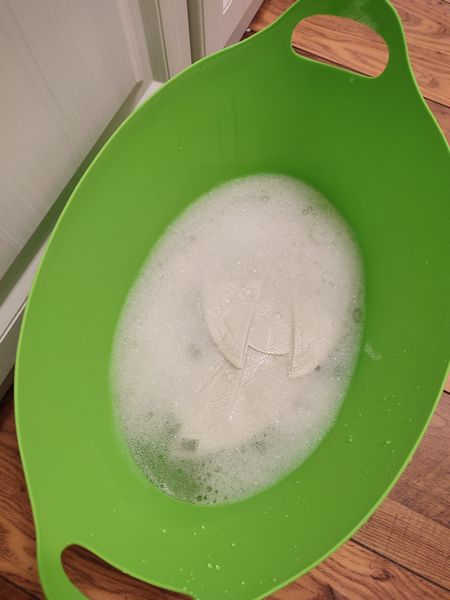
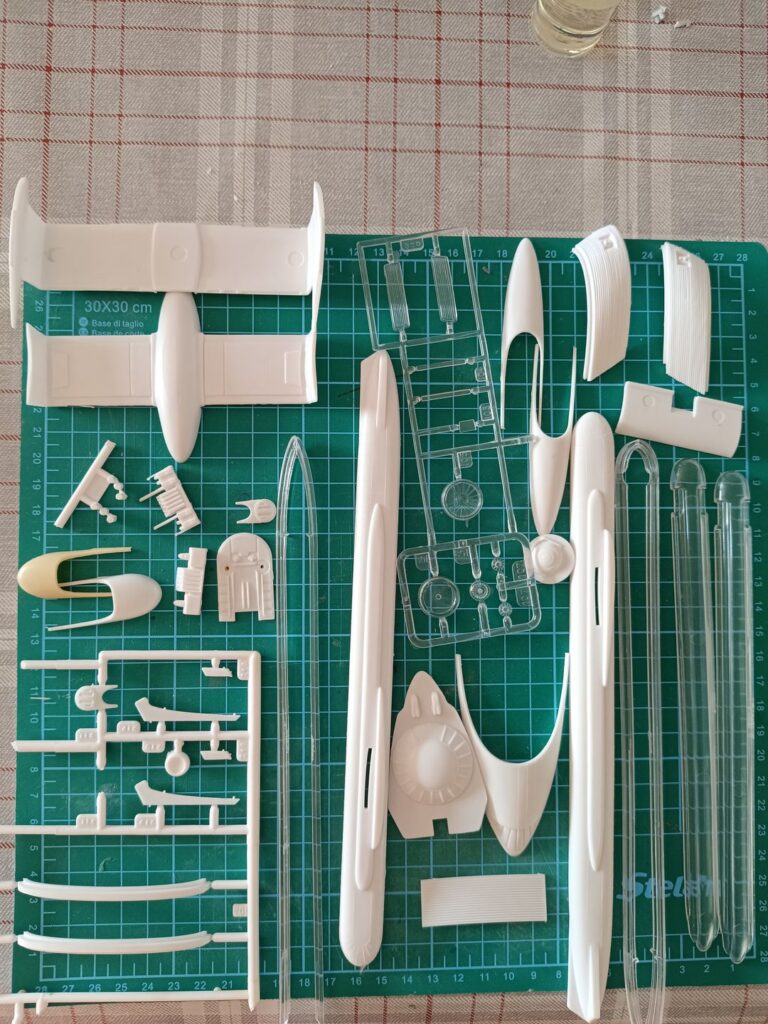
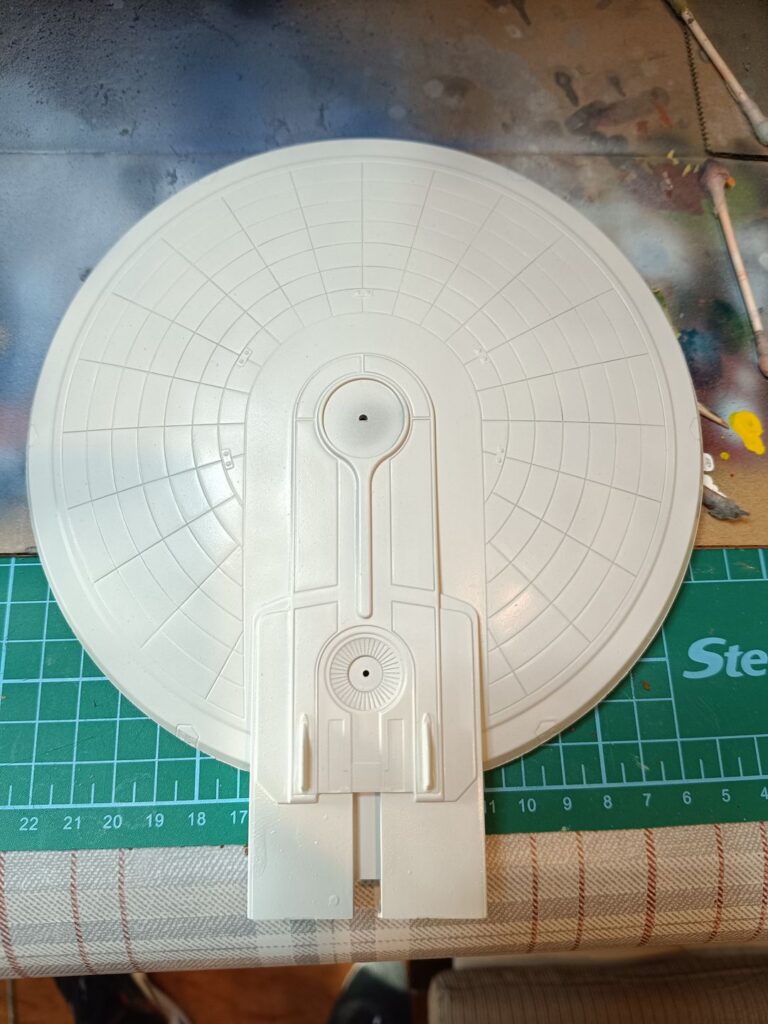
I started with the usual wash with soap to remove all the silicone oil of the molds and than I proceeded with a coat of light gray primer. This is the usual steps that I follow at least for all the starships that end up with very light colors. As you can see the model includes not so many parts and i suppose it’s an hybrid version, where you will find pieces of the Enterprise B and options to build alternate versions of the ship, like NCC or NX.
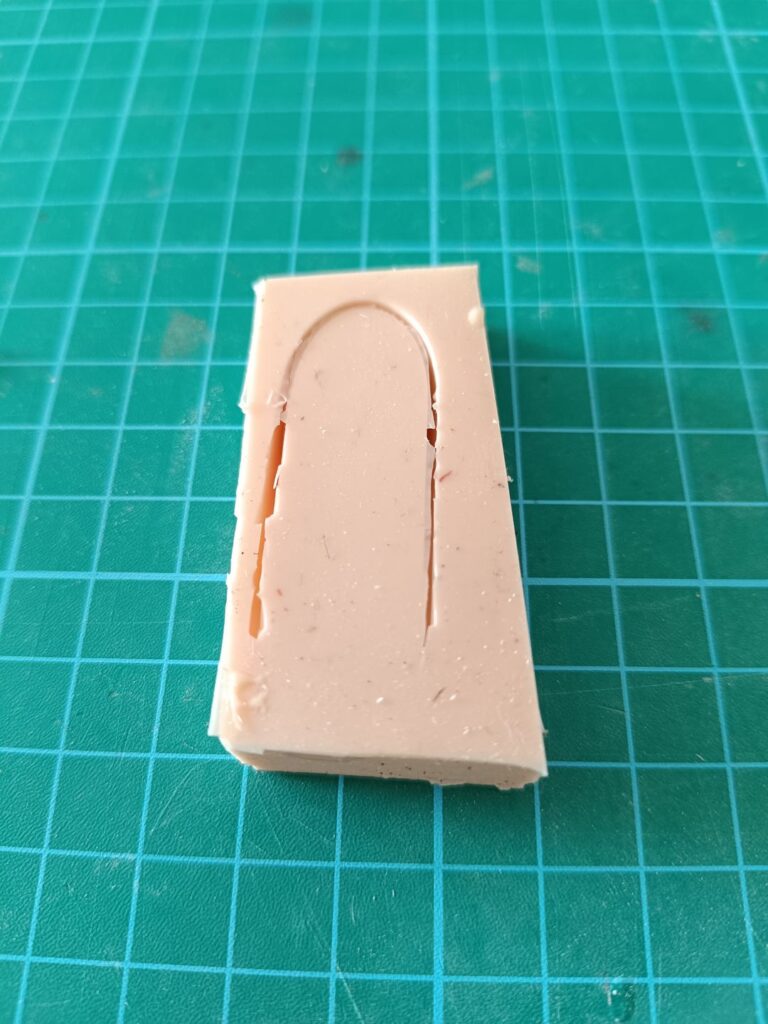
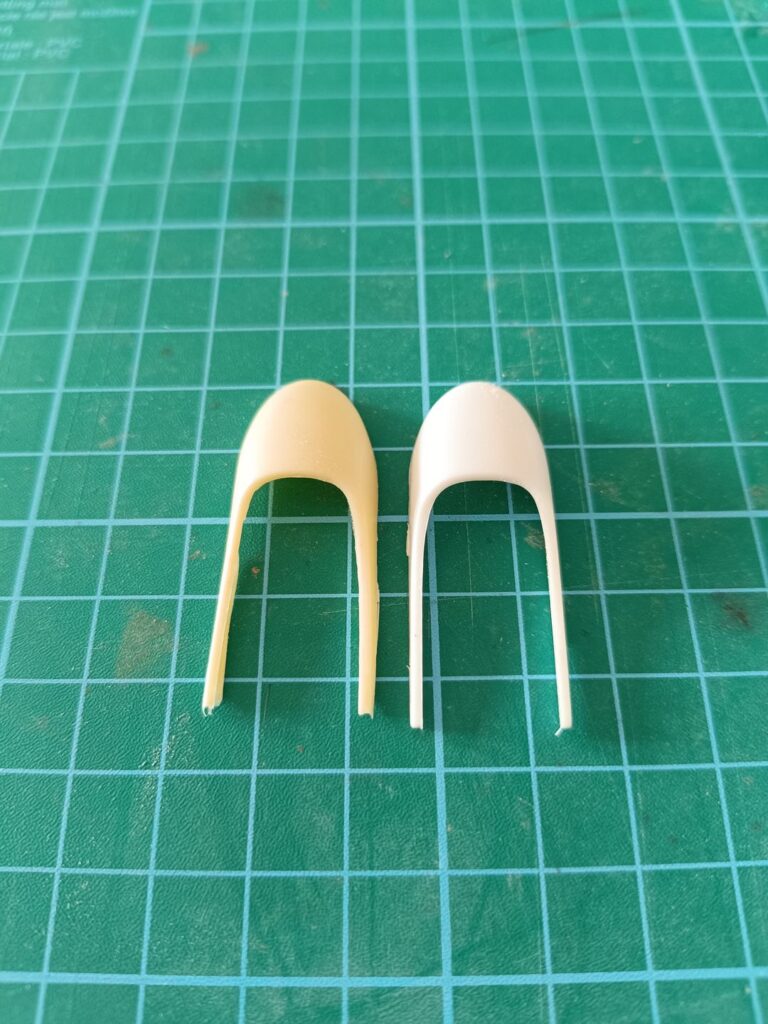
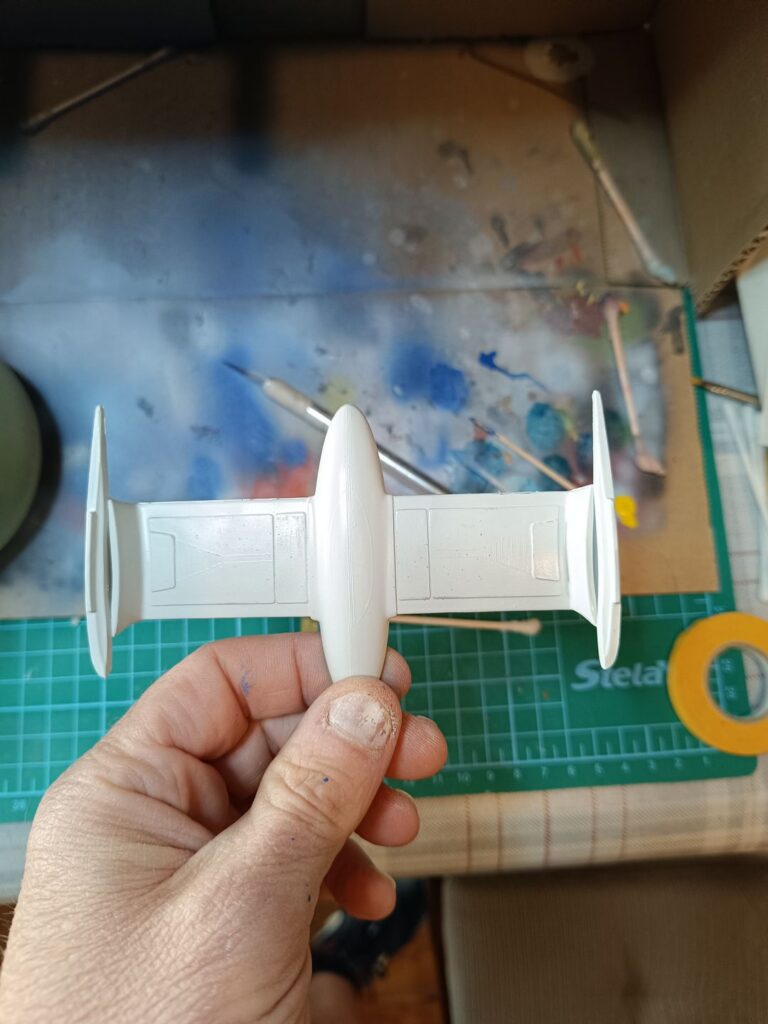
The first problem that I encountered is that I lost one of the frontal pieces of the nacelles (yes, sometimes these pieces tend to disappear and never come back, at list when you need them. Probably went inside some other box. My solution was to create a mold in silicone of the one that I have. Since the two parts were identical there was no need to mirror. Then I created a copy in silicone. Only problem is that resin and polystyrene cannot be glued with the usual model glue, so I used epoxy glue instead. In the end as you can see the two parts are identical, the resin one is the one on the left.

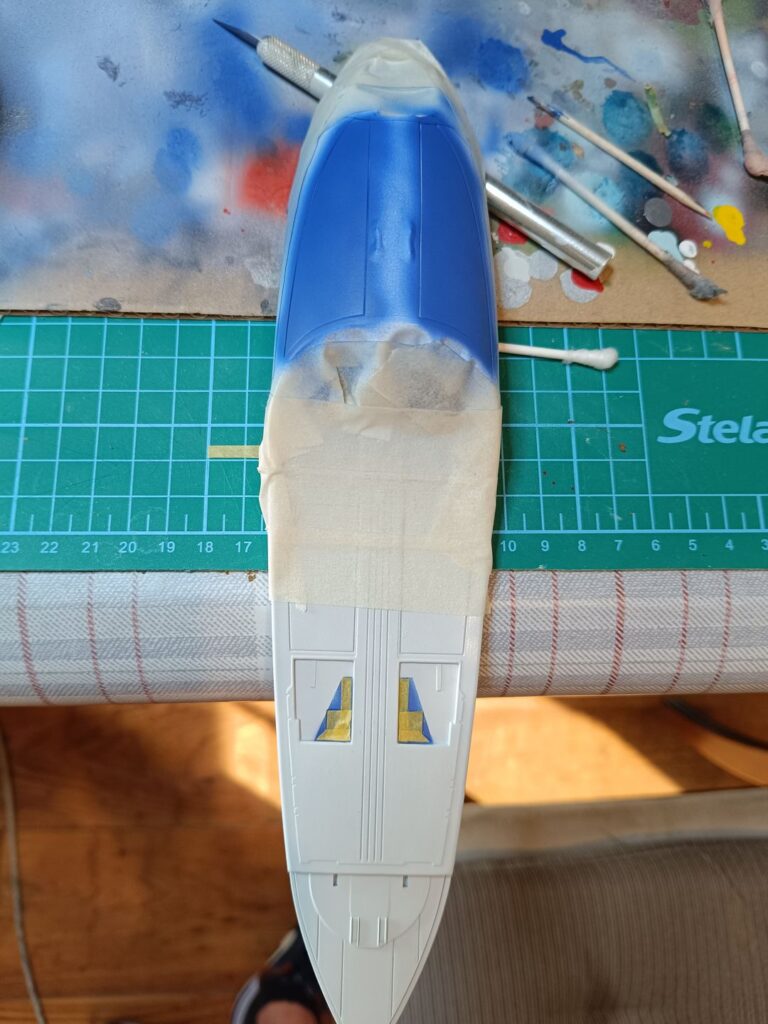
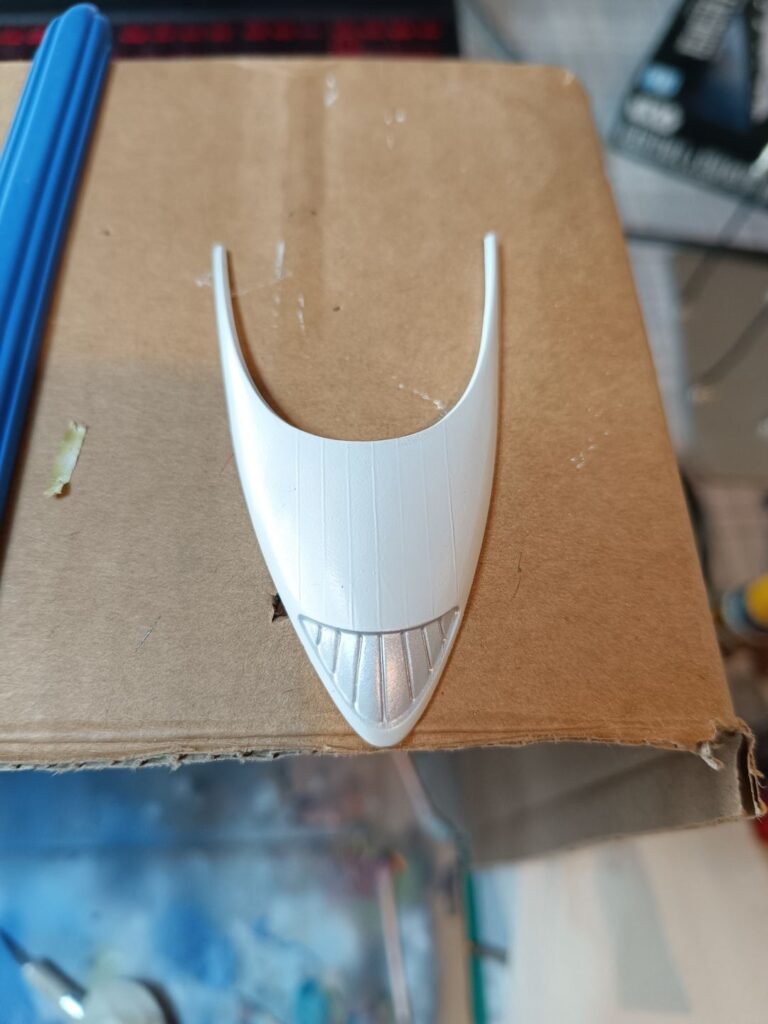
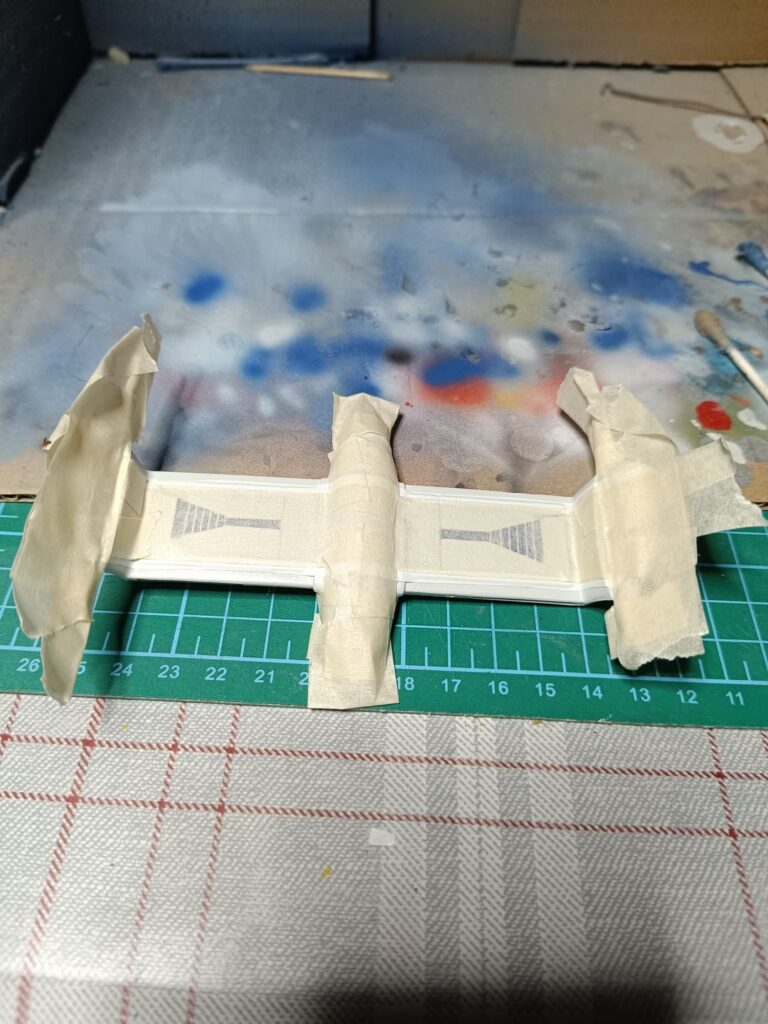
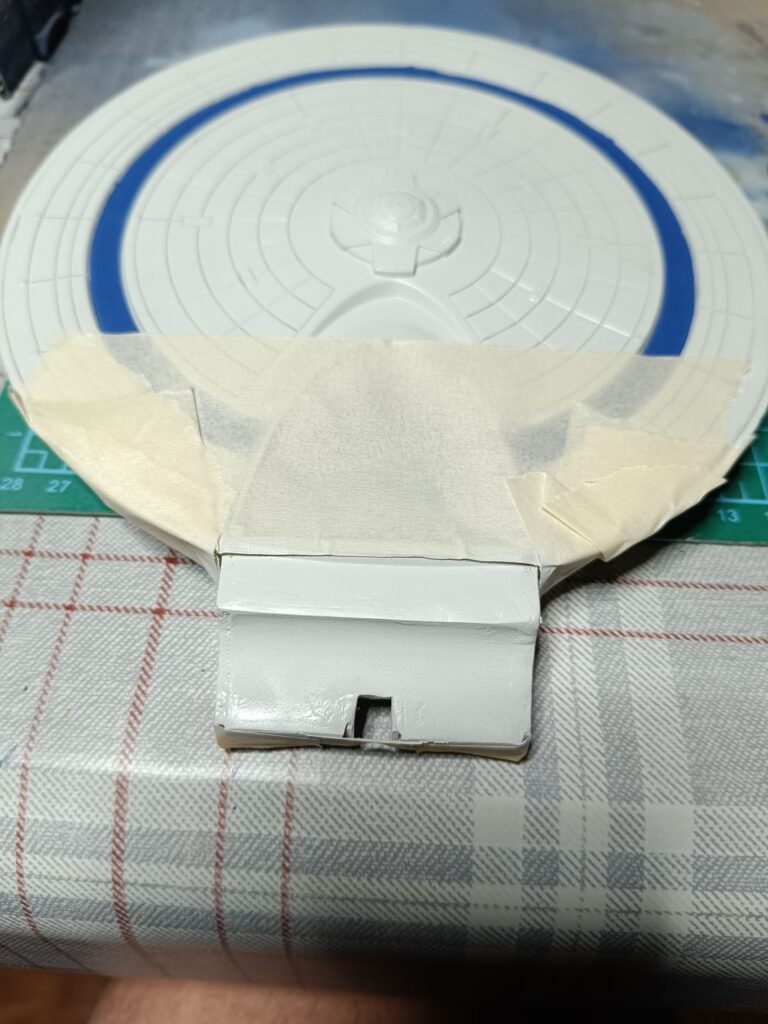
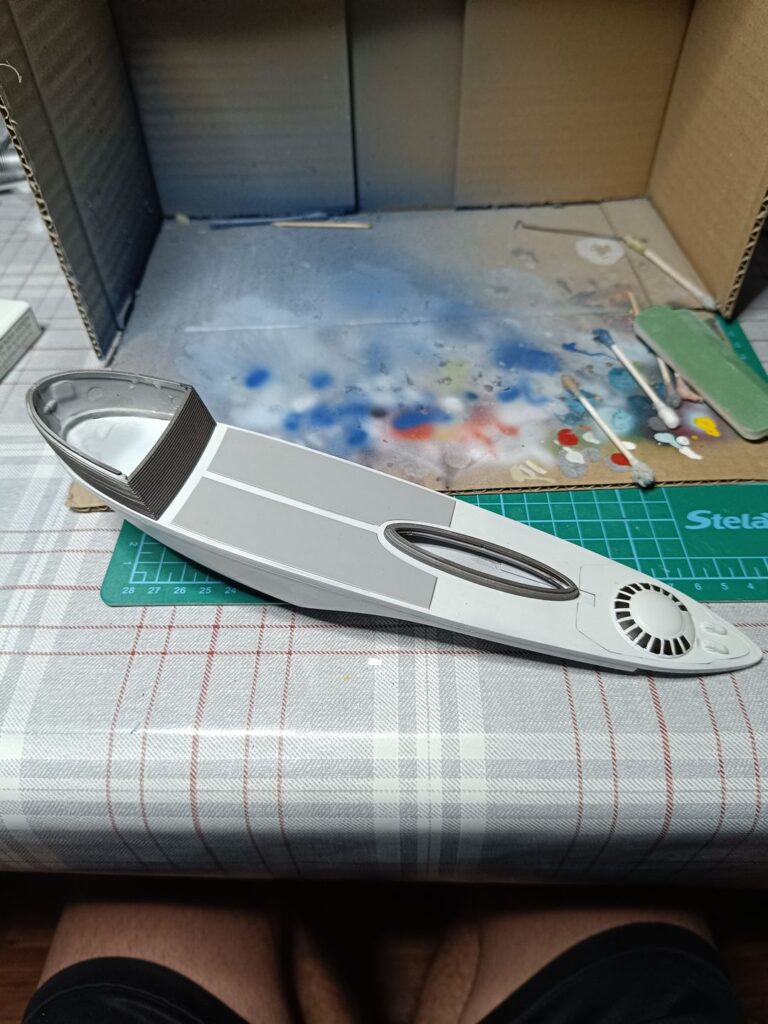
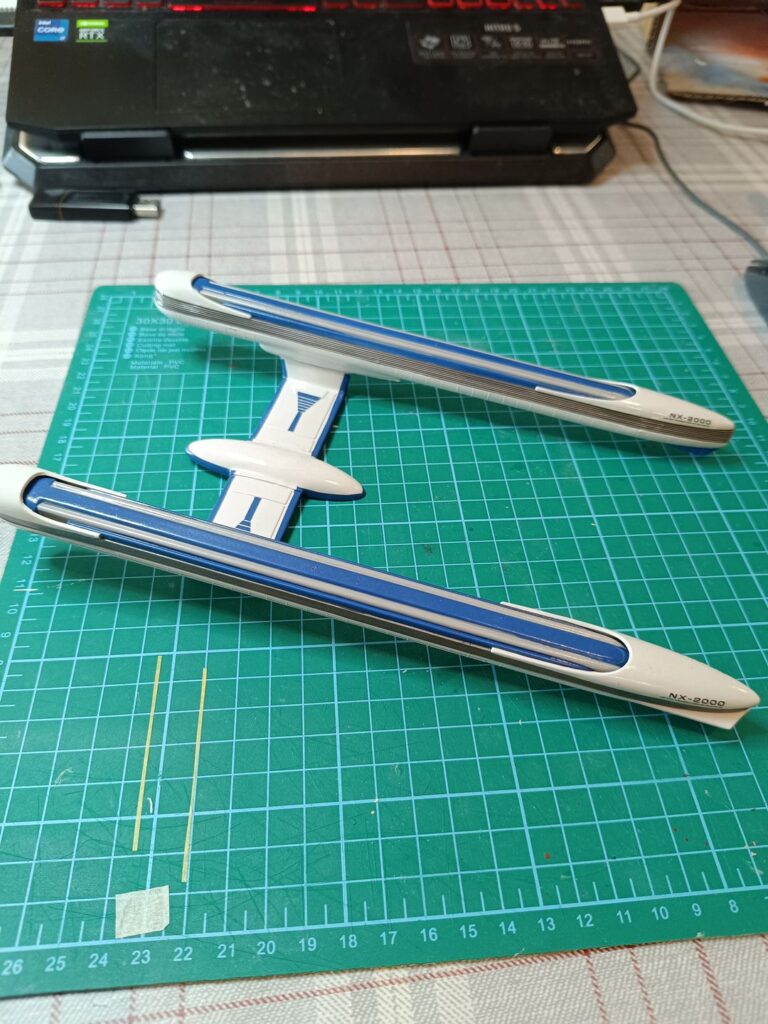
So I started to paint with the final color (a light gray) and I started to try if the masking was effective for some of the parts. You need to considerate that the decals were not including most of the bluish parts, so the options were to create decals or to directly paint them.
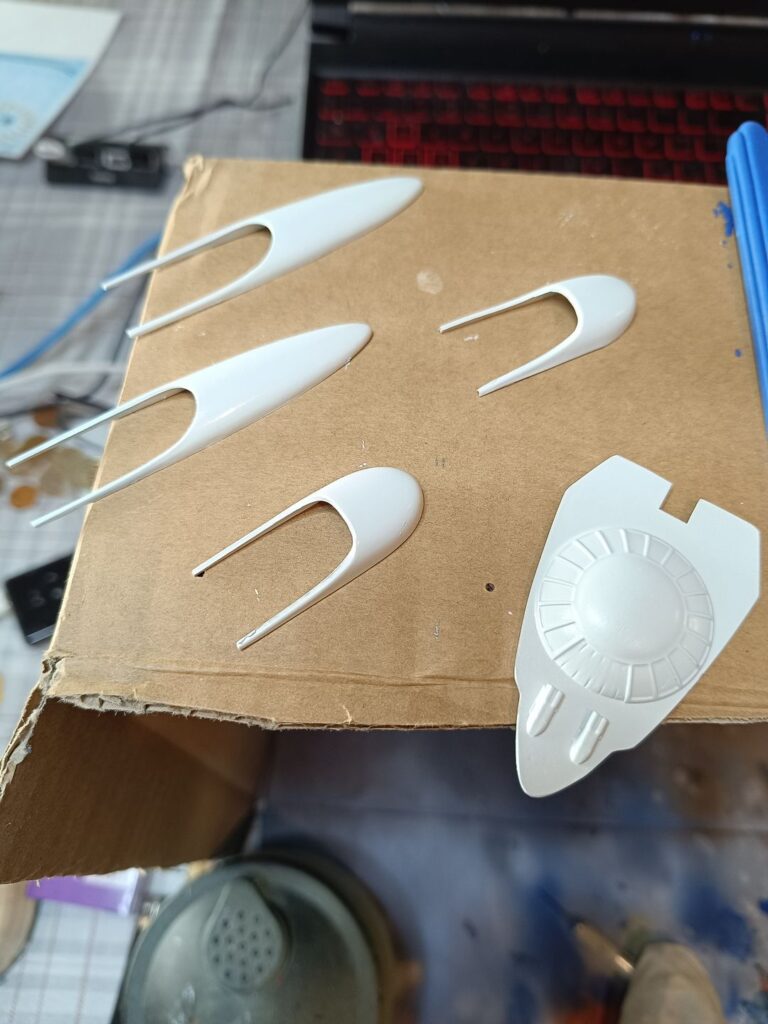
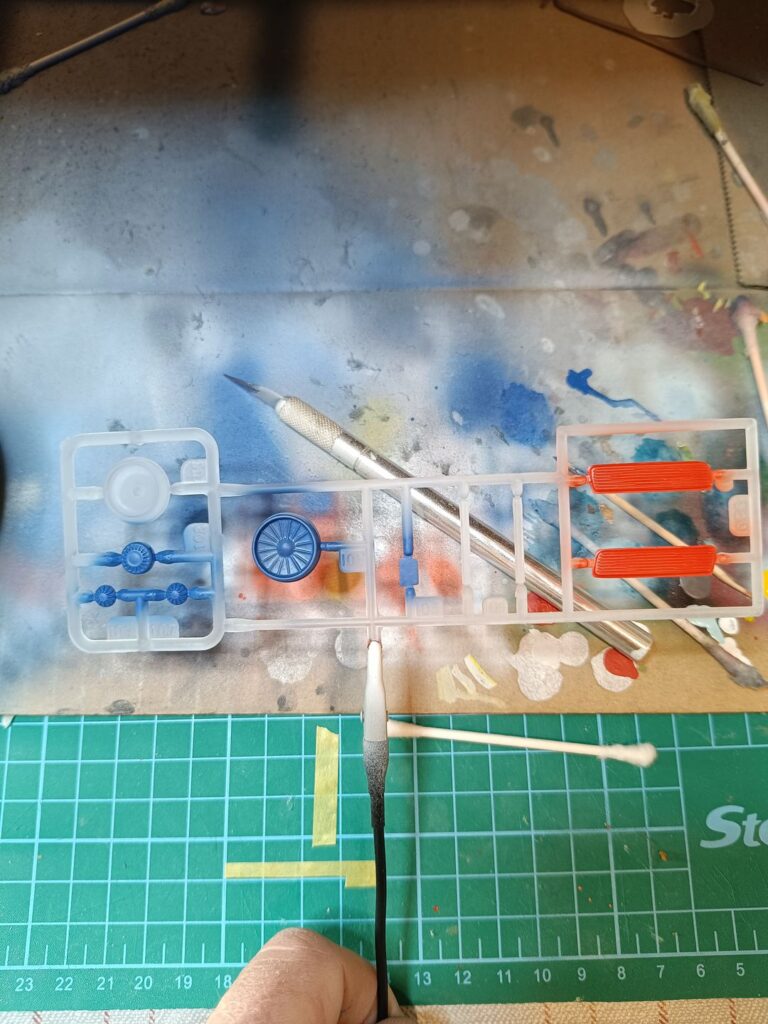
Same for the transparent parts (far more than the ones needed)
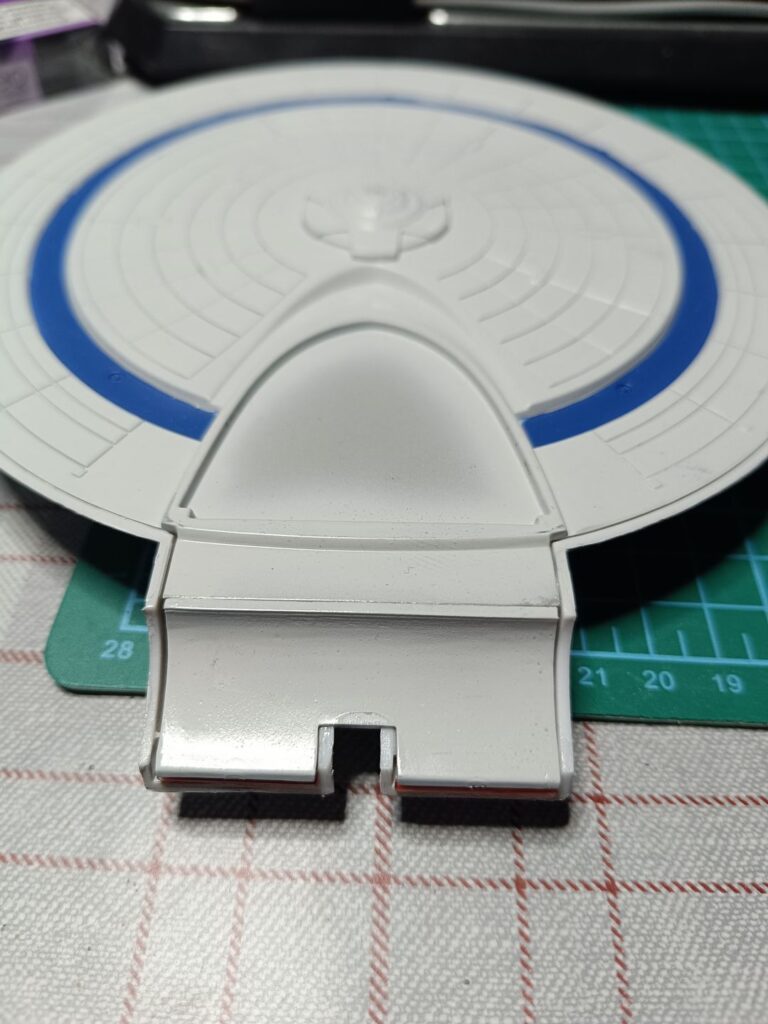
Prepare yourself to do a huge work of masking because really it’s difficult, considering that the surfaces are not so plain and there are lots of little details.
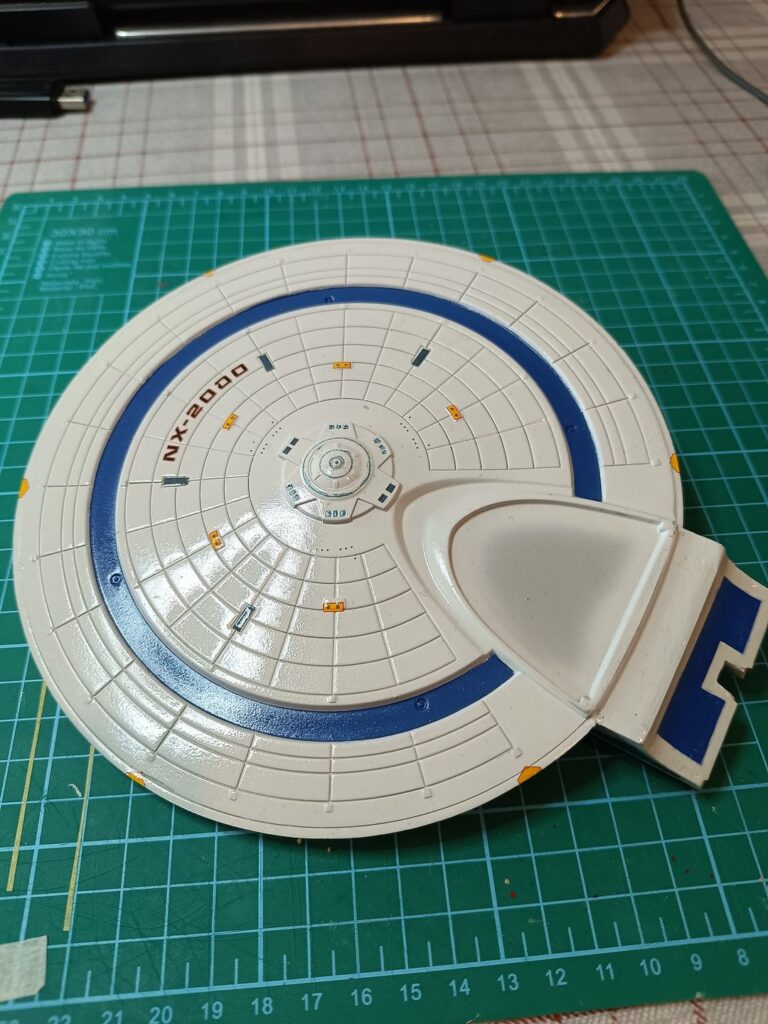
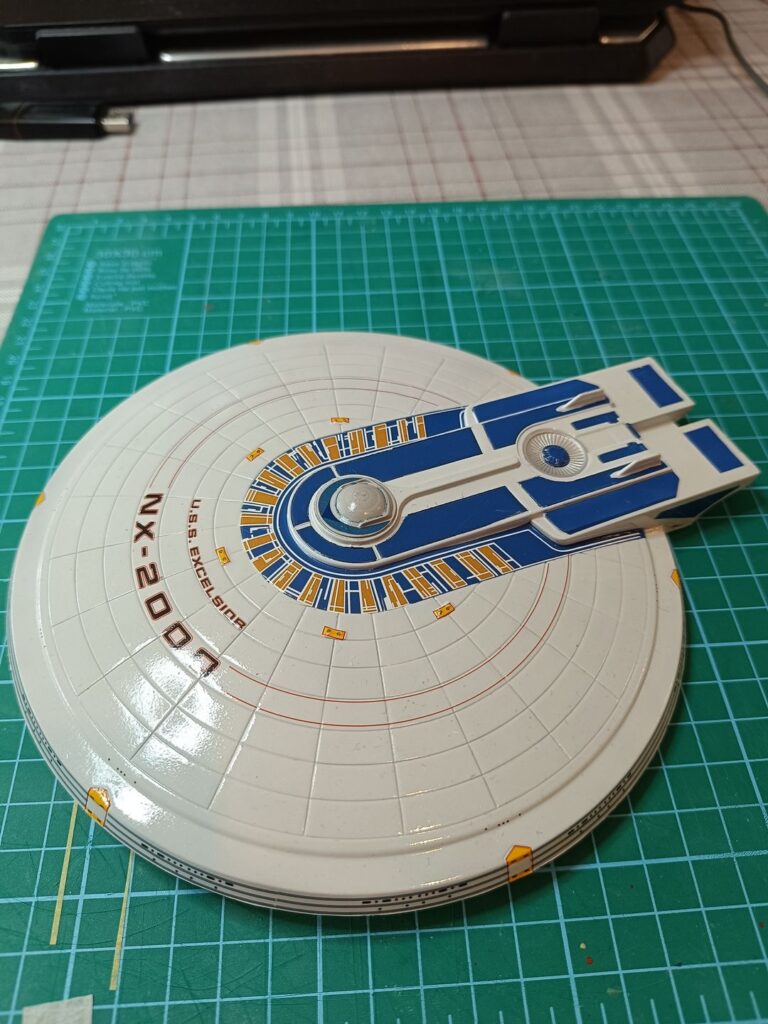
In the end I managed to have a decent version NX of the ship, though I’m not so sure about the colors because, apparently the NX is seen only in the movie version and the colors reported are very different if you do a search. The original model version too is quite different from what we see on screen, so I suppose that they messed with the lights and with the post production.
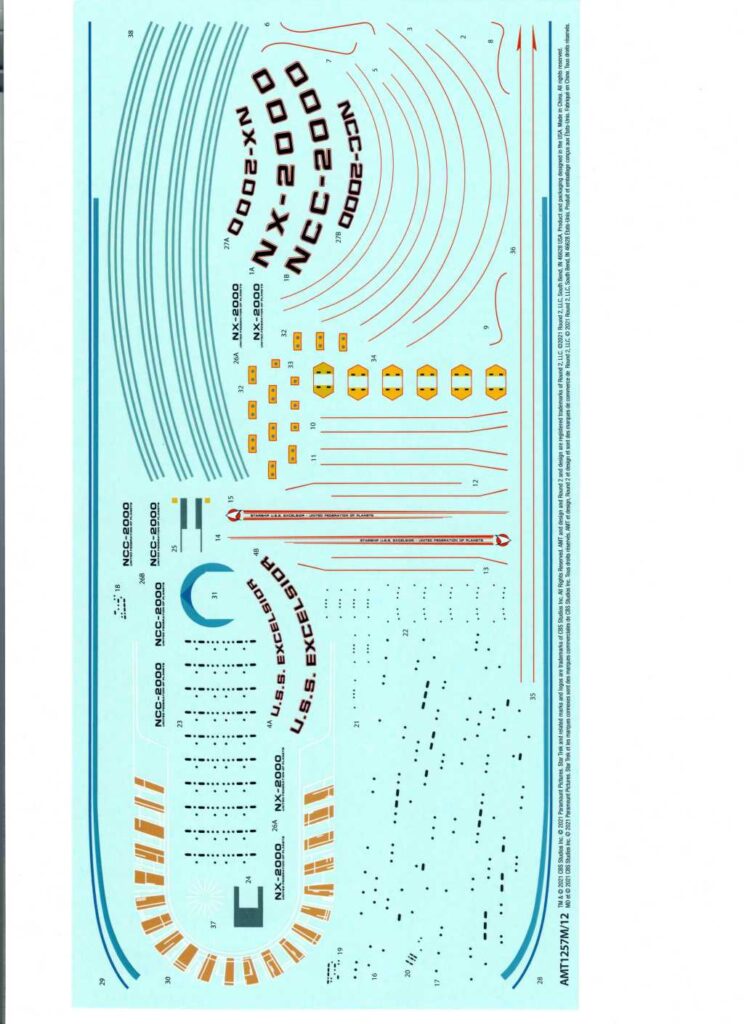
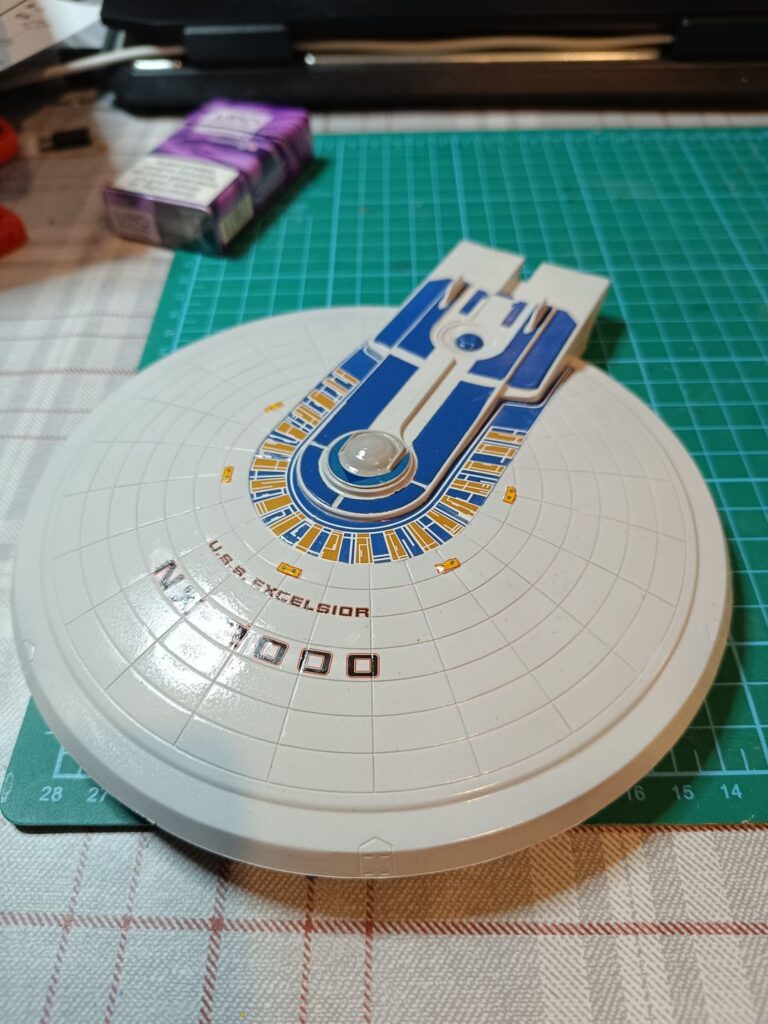
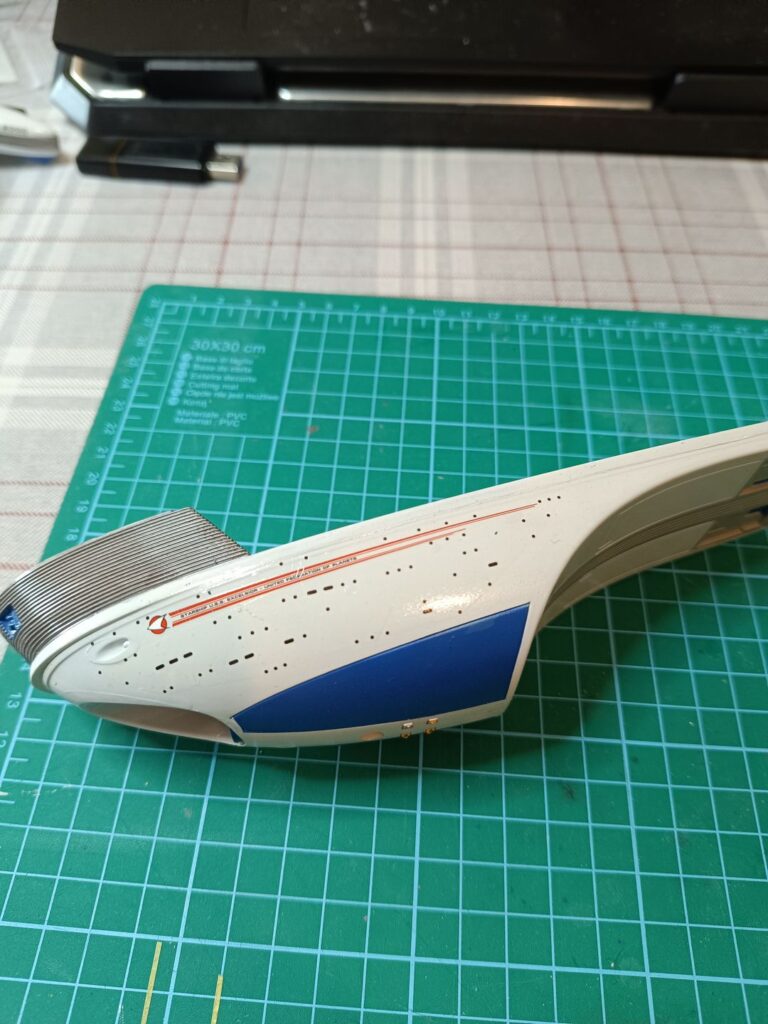
Another problem were the decals. Even considering that the box was brand new, the decals were really messy and cracky when placed in the water. In the end for some of them I managed to repair them with a coat of gloss (unfortunately not all the MICROSOL stuff is available here in Europe, so I had to manage with what I had). At the end I did not use some of the thin red lines because they were unusable.
Then finally I used the same procedure, a coat of gloss varnish, then apply the decals, then use a product from AMMO to fix them (Decal Fix). After that another coat of gloss transparent varnish and some weathering using oil paint diluted in mineral oil.
Finally another coat of matte transparent varnish.
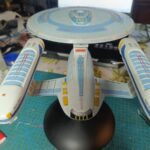
Unfortunately I don’t have pictures of the final mount because I had to transport it and I was sure of havoc and destruction during the transfer. For now all the 3 parts and the base are packed but I will come back with the final pictures.
Hope you enjoyed the build so far.
![]()
Related posts:
 Klingon Bird of Prey AMT No. 1400M scale 1:350
 Romulan Warbird D’deridex Class Battle Cruiser AMT No. 1125 scale 1:3200 2019
 Building of the USS Enterprise NCC-1701-C from AMT 1332M 1:1400
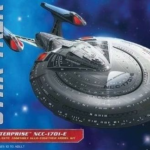 USS NCC-1701-E Enterprise E
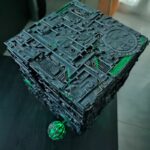 Borg Cube
 Unboxing of Star Trek Romulan Warbird D’deridex Class Battle Cruiser AMT (scale 1:3200 N°1125)
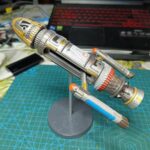 Printing and painting of the Phoenix
 Star Trek: TNG (The next generation)
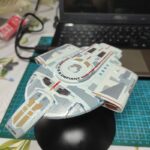 Defiant Class USS NX-74205
 Unboxing of Klingon Bird of Prey from AMT (1:350 1400M 2023)
Leave a Reply