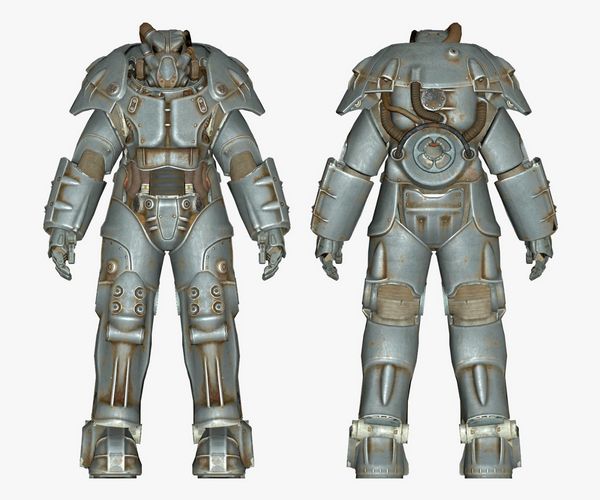
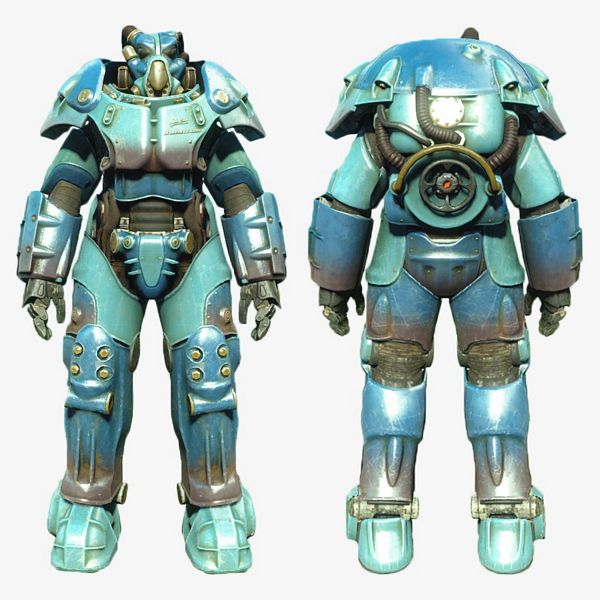
Welcome to this new build of the Quantum X-01 Power Armor from Fallout. The printing was done for a friend of mine and the idea came out during the Tv Show, so we found the STL file on Thingiverse (https://www.thingiverse.com/thing:4917668) and started to print while watching the TV show.
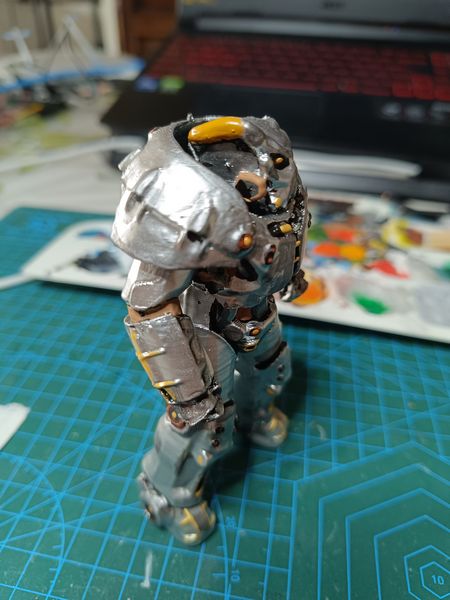
After 17 hours or so, the print was ok but very imprecise, with a lot of strange shapes and supports everywhere, including the interstices of the shoulders. When a model is not so detailed it’s only a matter of improving the details with paint and few tricks in order to distract the viewer from the defects.
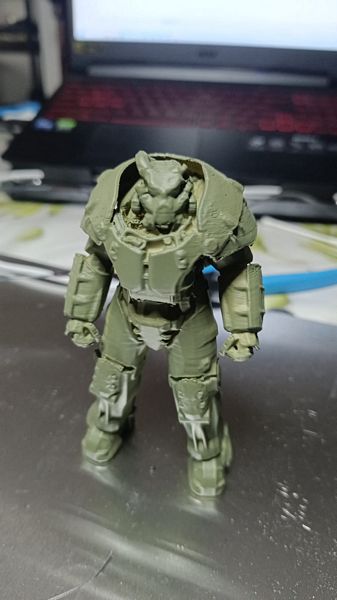
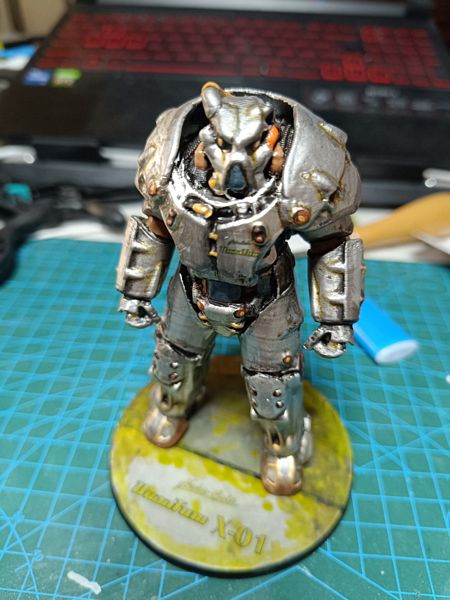
After a good filing (this time I did not use the acetone because the setup was not ready, so I choose to file a lot and to coat with several layers of paint in the most difficult areas, mostly the helmet and the top of the shoulders) and a lot of removal of support parts I was ready to paint basically one single action figure.
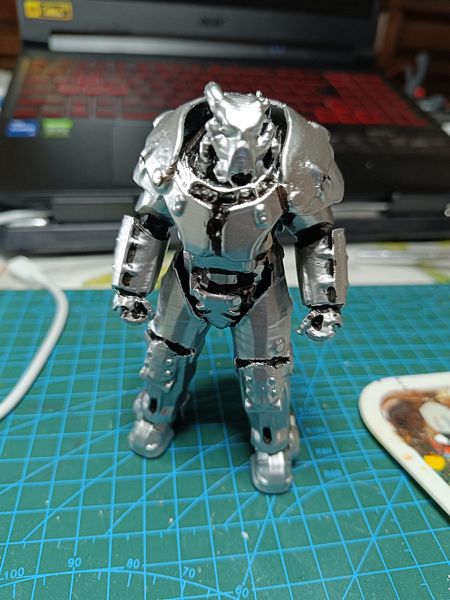
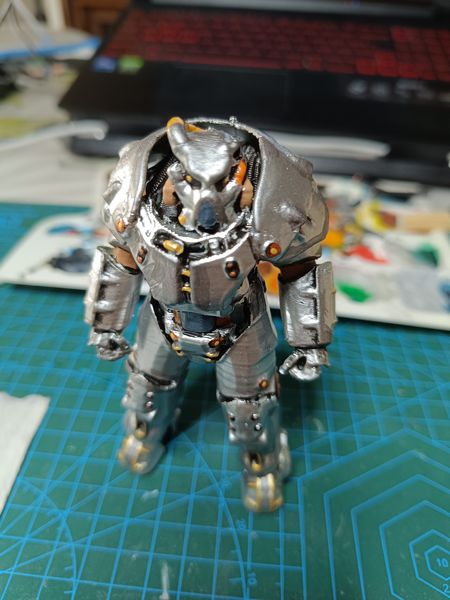
So basically I started with a coat of military green primer (only because I finished other spray bottles) and then applied a coat of Gunmetal.
Franky Gunmetal did not satisfy me a lot, so I highlithed several sections with steel paint.

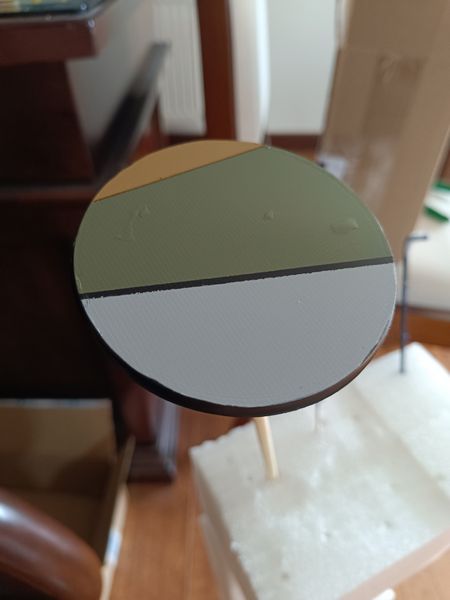
For the base I wanted to recreate some terrain seen in the show so I applied different stripes of green, sand, black and gray and then added several layers of yellowish-greenish varnish.

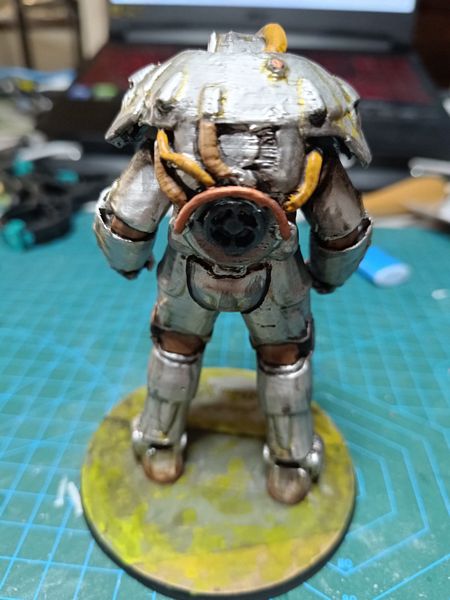
After everything was ready I applied the usual coats of Transparent gloss and weathering, plus some lines in rapidograph near the raised areas and to detail a bit the different sections of the tubes coming and going from the helmet.
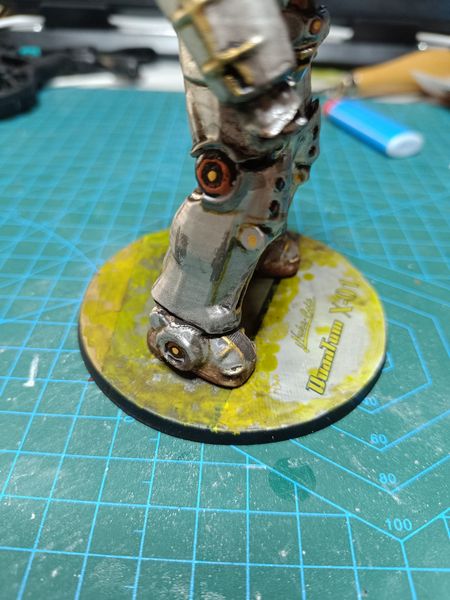

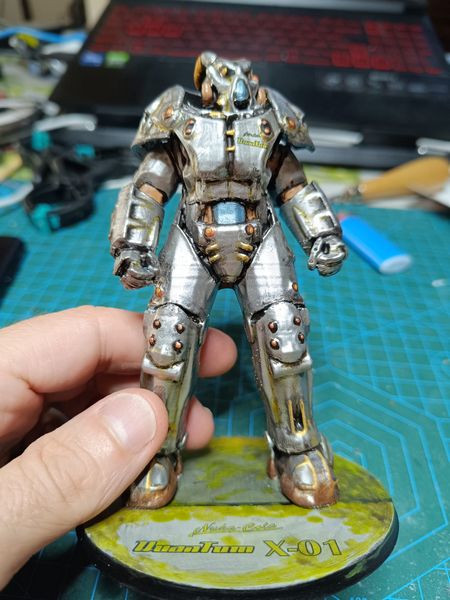
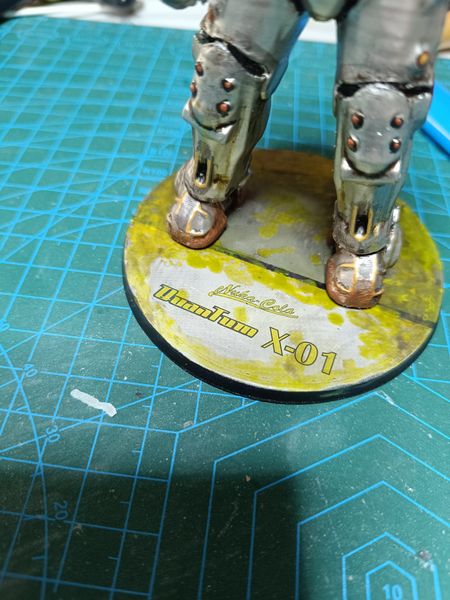
The final touches are the two decals Quantum X-01 and Nukka-Cola on the left breast and the same on the base, as you can see in the pictures.
Hope you liked this build.
![]()
Related posts:
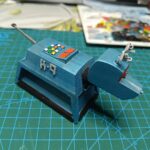 Printing and modeling K-9 from Doctor Who
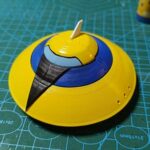 Printing and Painting of the TFO of Koji Kabuto in Grendizer
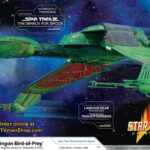 Unboxing of Klingon Bird of Prey from AMT (1:350 1400M 2023)
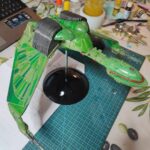 Klingon Bird of Prey AMT No. 1400M scale 1:350
 Unboxing of Star Trek Romulan Warbird D’deridex Class Battle Cruiser AMT (scale 1:3200 N°1125)
 Romulan Warbird D’deridex Class Battle Cruiser AMT No. 1125 scale 1:3200 2019
 Master Yoda from Star Wars Printed with 3D printer
 Tie-Fighter – Star Wars / Limited Edition Revell No. 06051 scale 1:65 – 2017
 Printing and Painting of Grendizer
 Printing and painting of the Phoenix
Leave a Reply