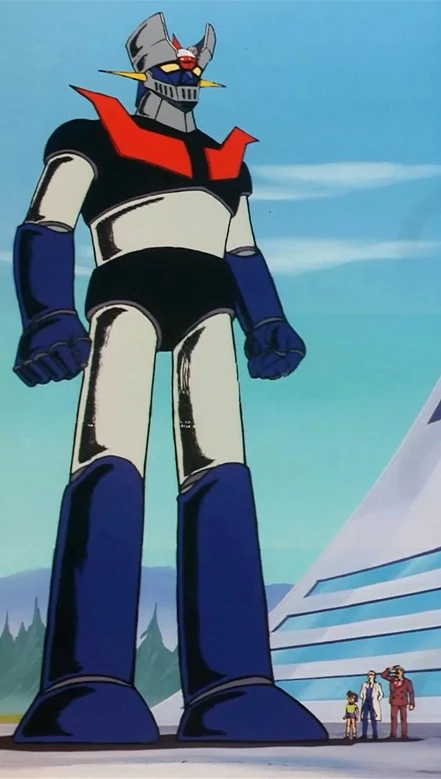
Welcome to the printing and painting of Mazinger Z. This is one of the most iconic robot from the genius of Go Nagai and has various names (Mazinger Z or Mazinga Z in italian). I wanted to build the original anime version as close as possible.
I found the SLT on www.thingiverse.com here is the link: https://www.thingiverse.com/thing:1906741.
After choosing the scale (maybe I printed too little in the end) I printed with ABS. Why ABS instead of the more reliable PLA? Because PLA is a biodegradable material and it’s not ideal for miniatures that are supposed to last long; it’s damaged easily by temperature changes, humidity and light and the result is that after few years the model will crumble into dust, kept whole only by the paint.
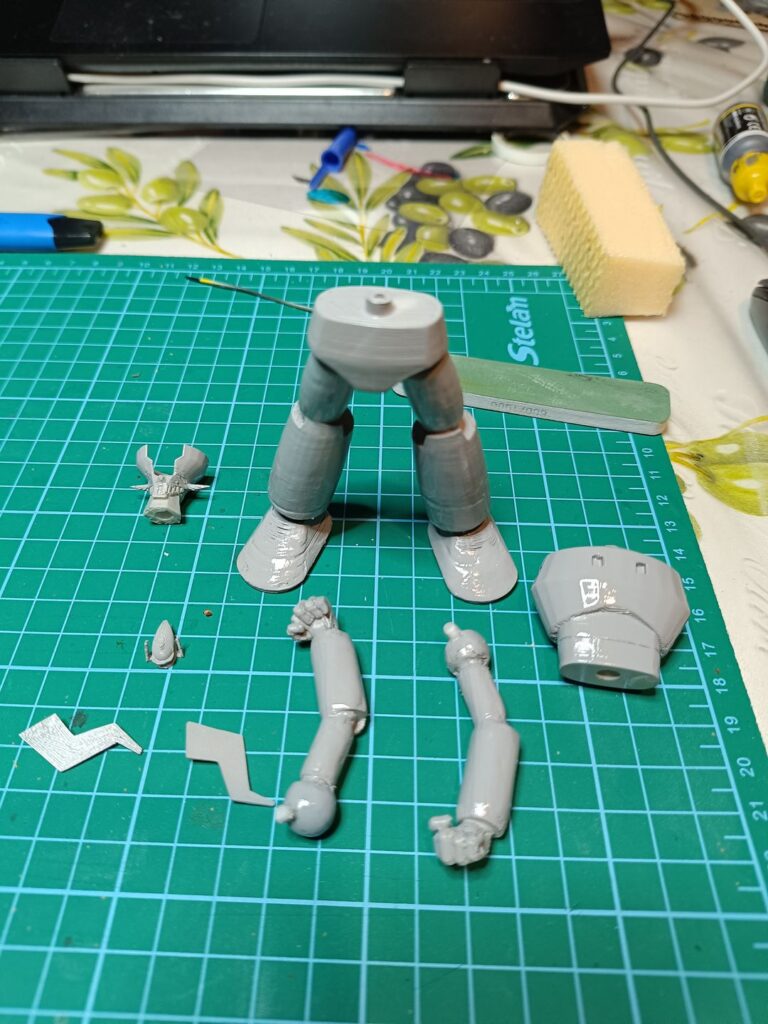
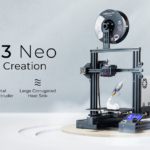
I Always consider that for 3D printed models you have a long work of refining the print with filers and various sanding with different grits. The model will never come out perfect (unless you have a super expensive professional printer or you use resin printers) but this is what my Crealty Ender Neo 3 can do and it’s enough for me. Needless to say, if the print was a bit bigger it could have helped a lot.
After the print and the adjustments I proceeded with an acetone bath. I explained the procedure in other 3D prints description, but basically it’s done to create stronger bonds between the layers and to smooth the surface.
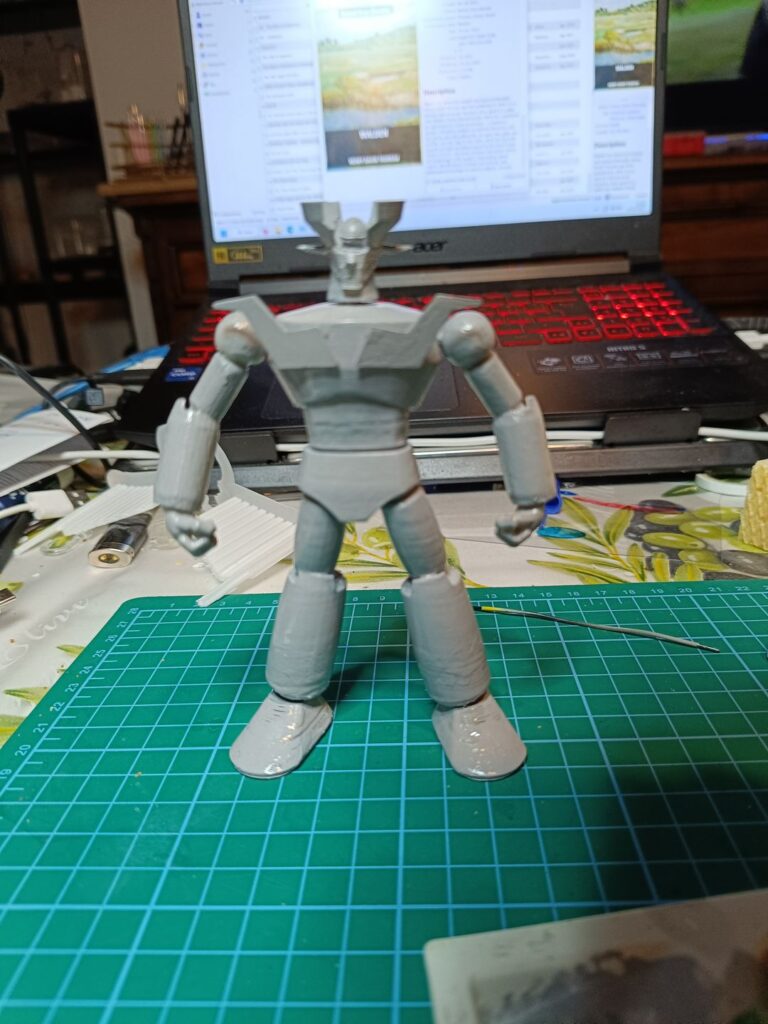
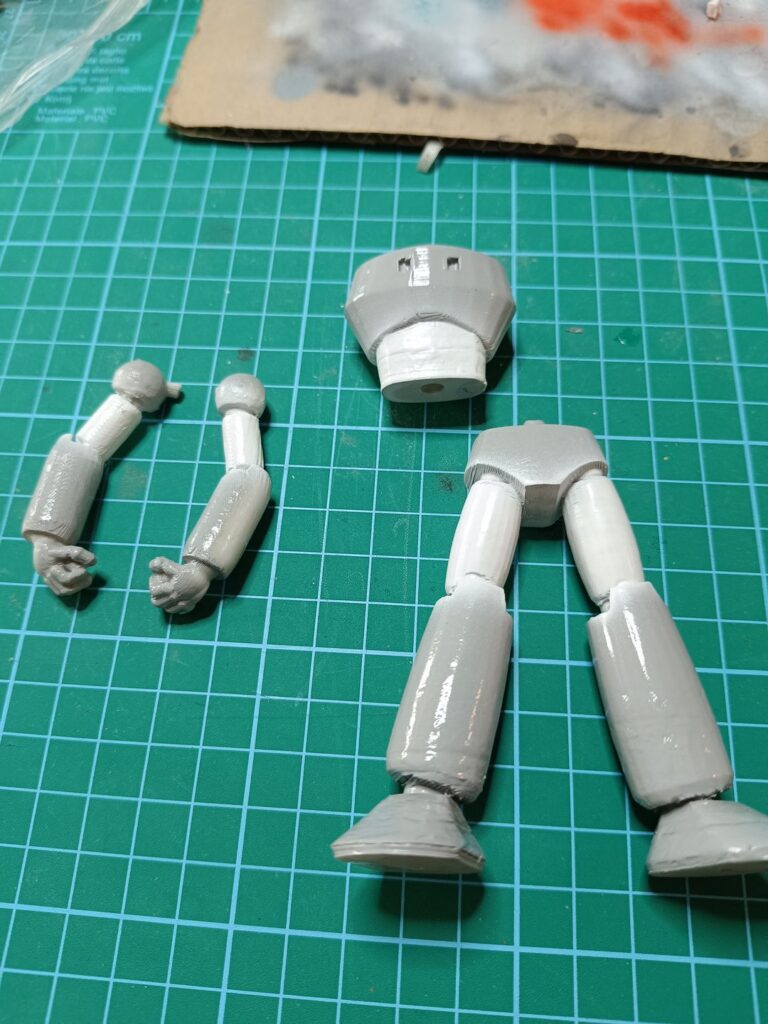
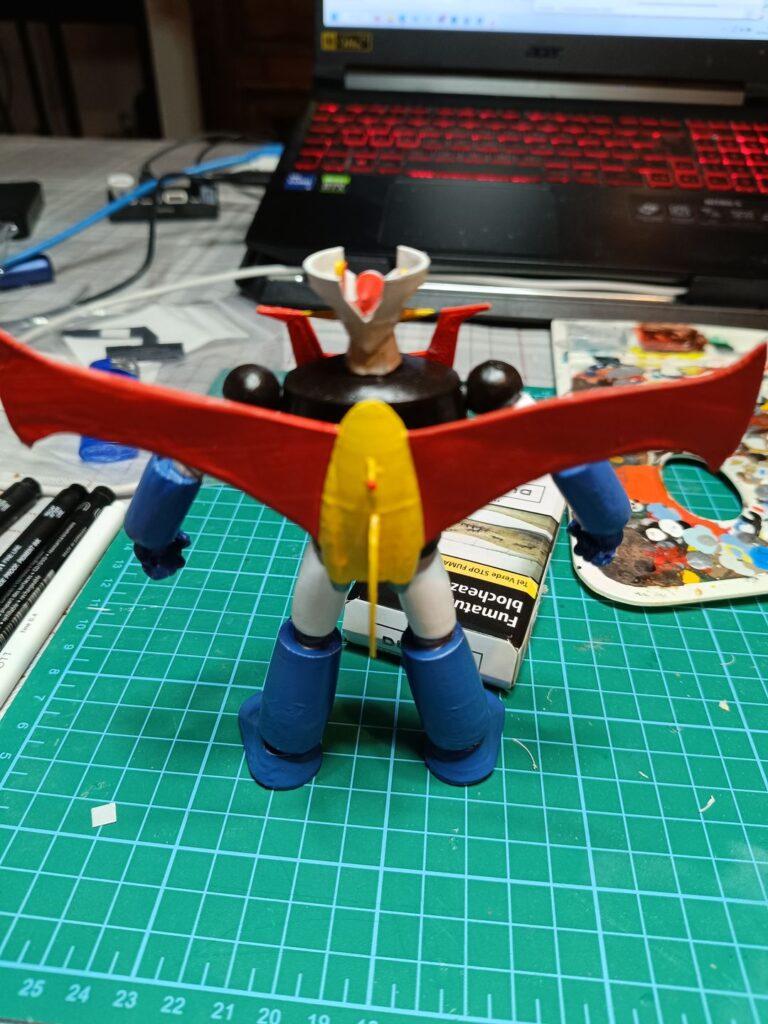
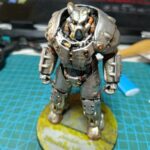
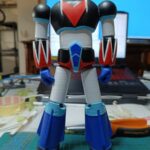
This is the final result after a coat of light gray primer. I tried to assemble to have a glimpse of the final result.
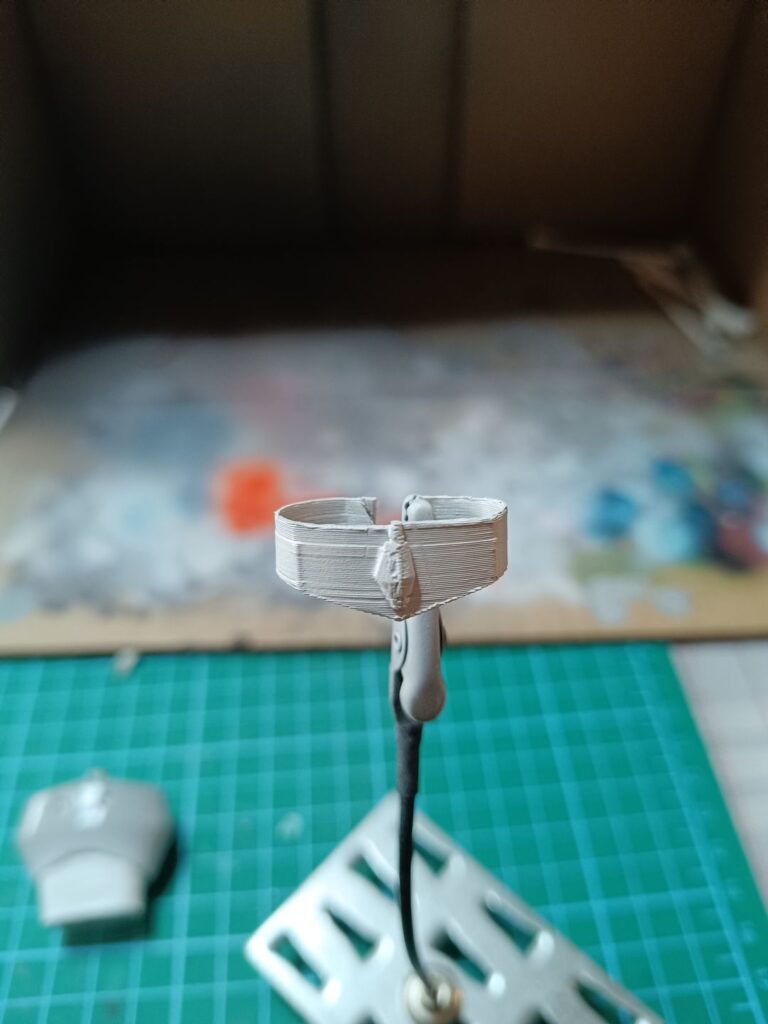
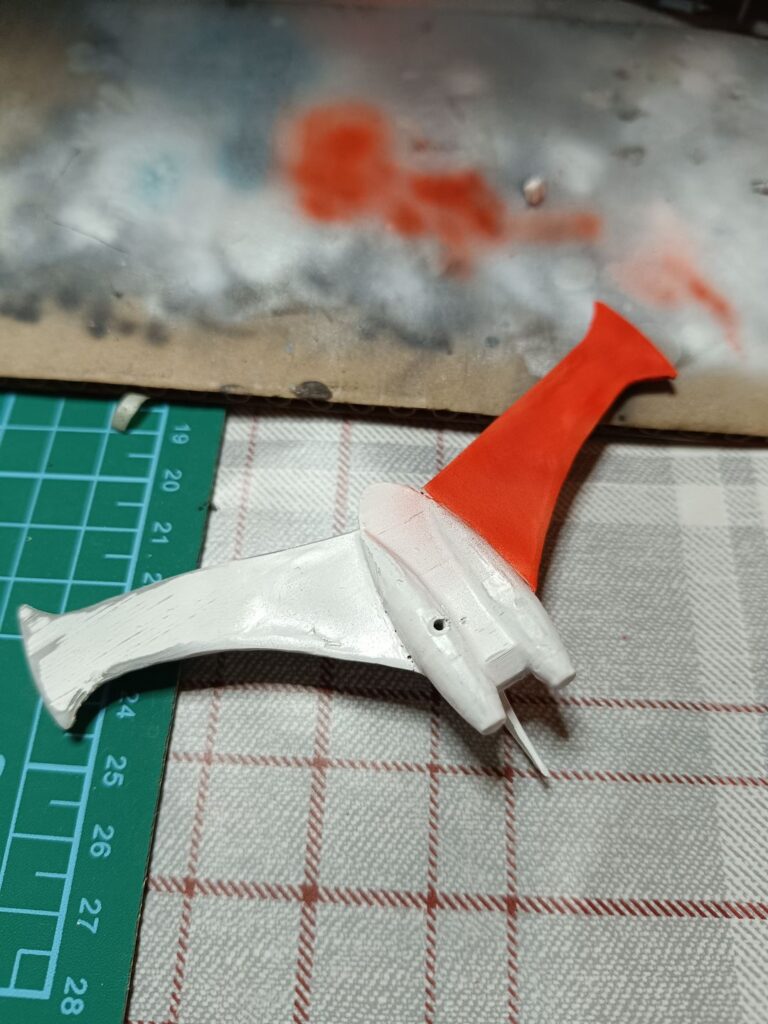
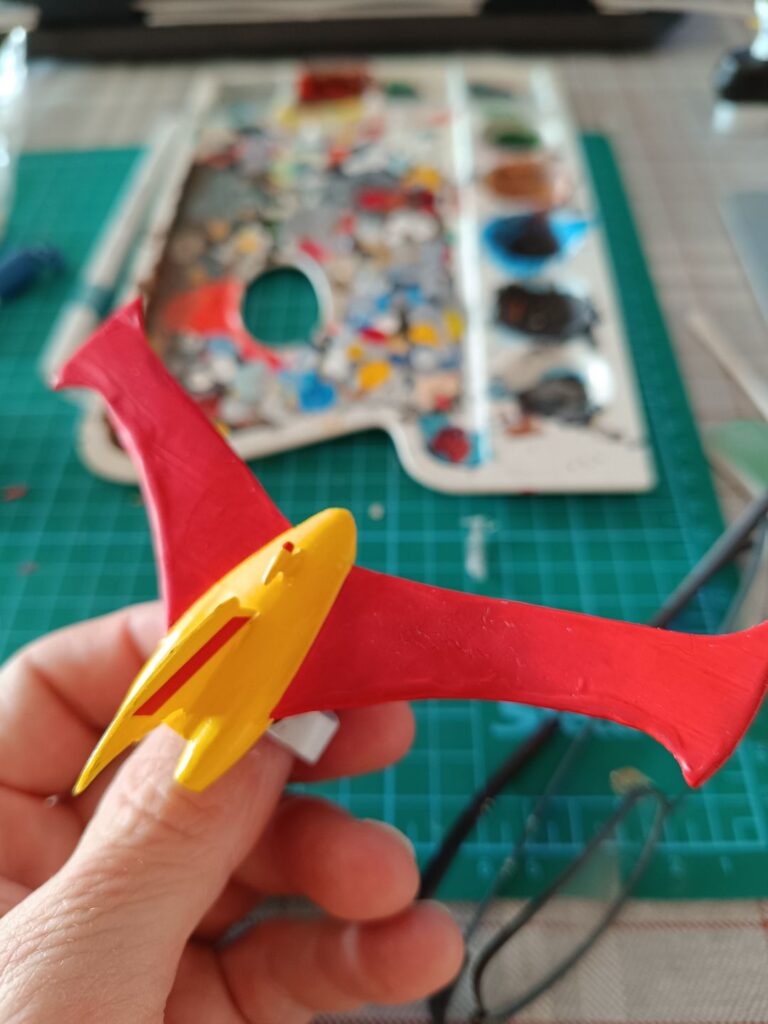
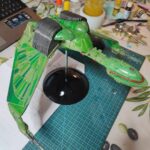
You can see the situation of the belt of the Jet Scrander, very messy so needs a lot of work.
However Then I started with the white and to try to color different parts
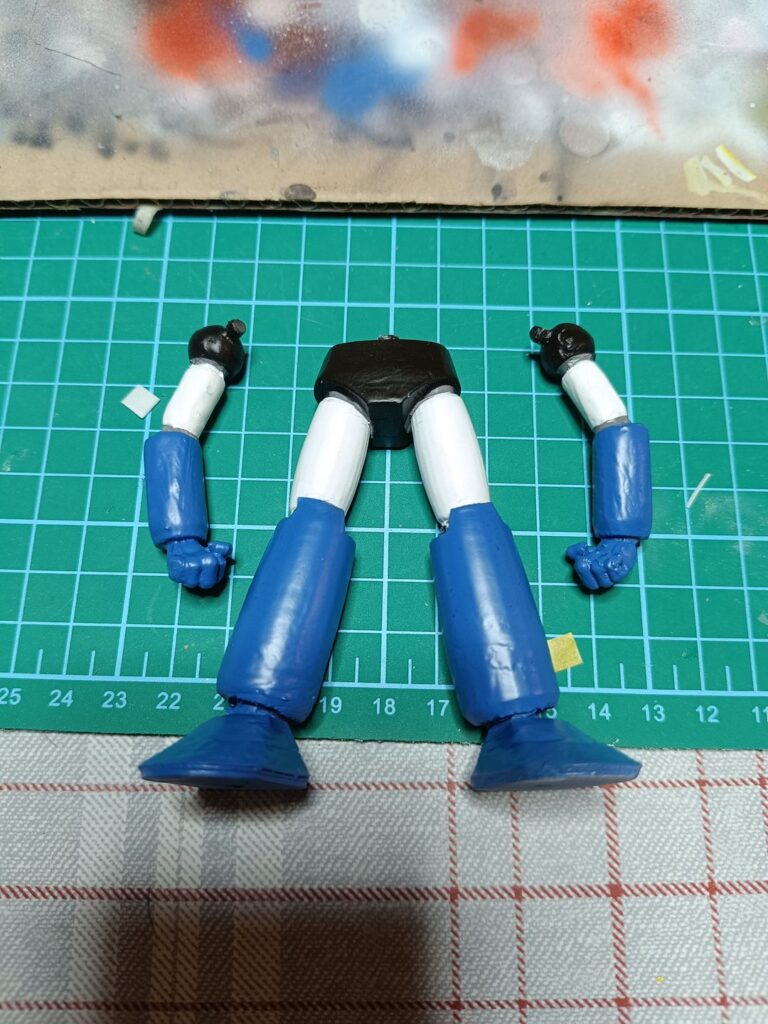
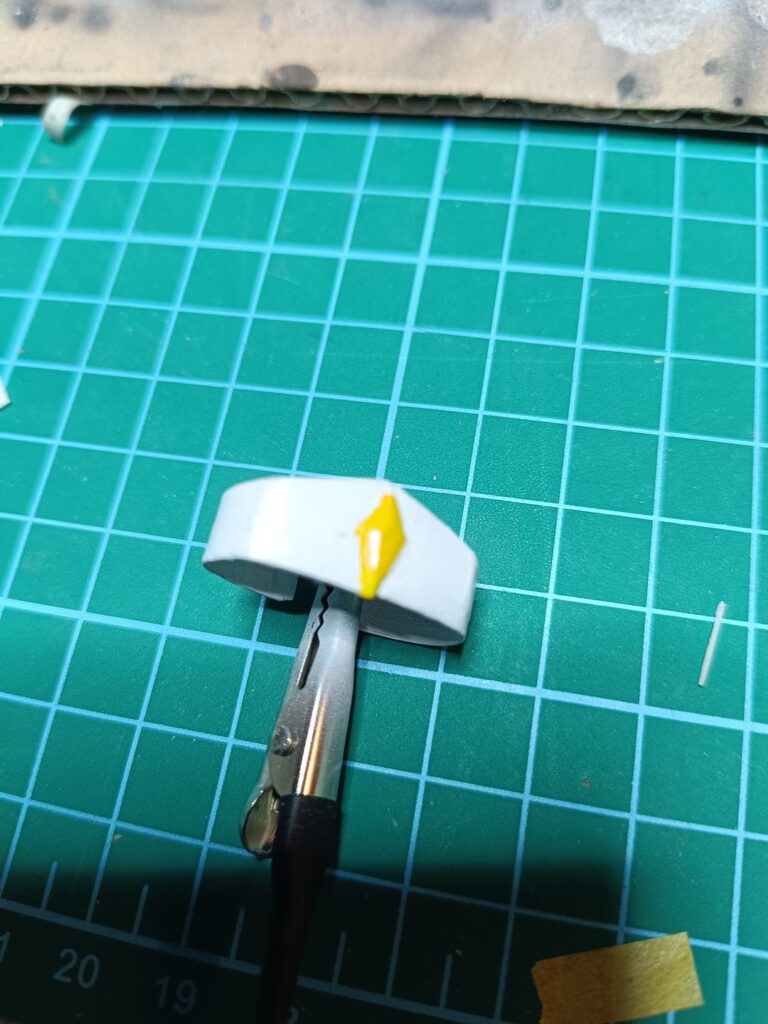
As you can see now the belt looks better.
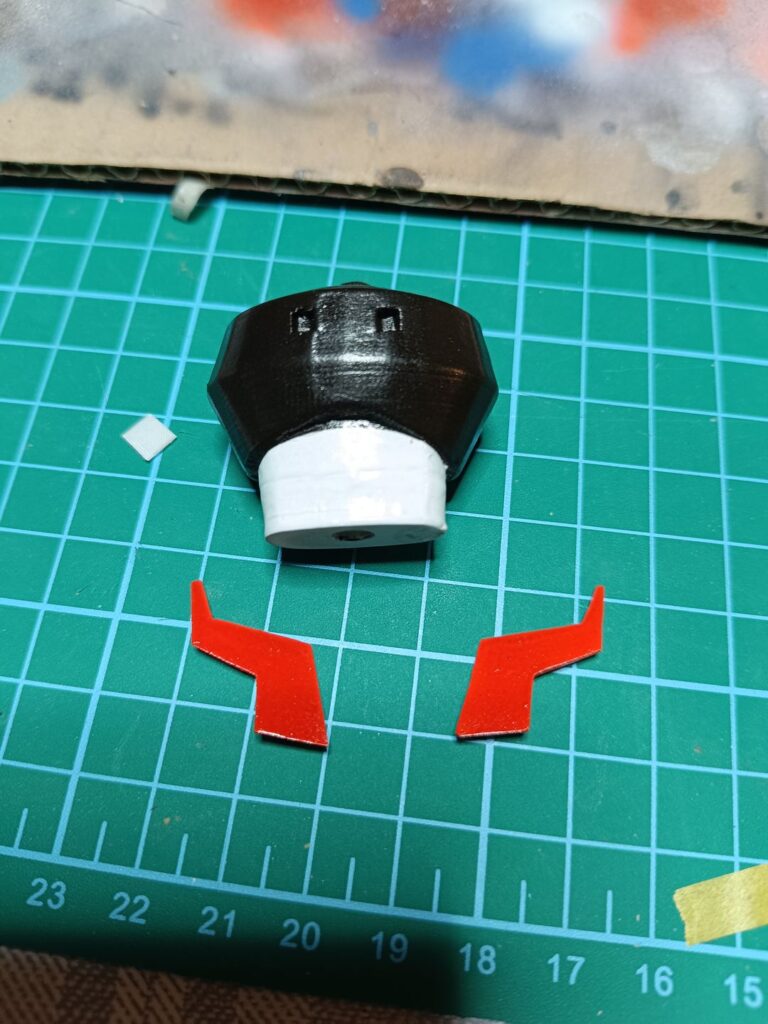
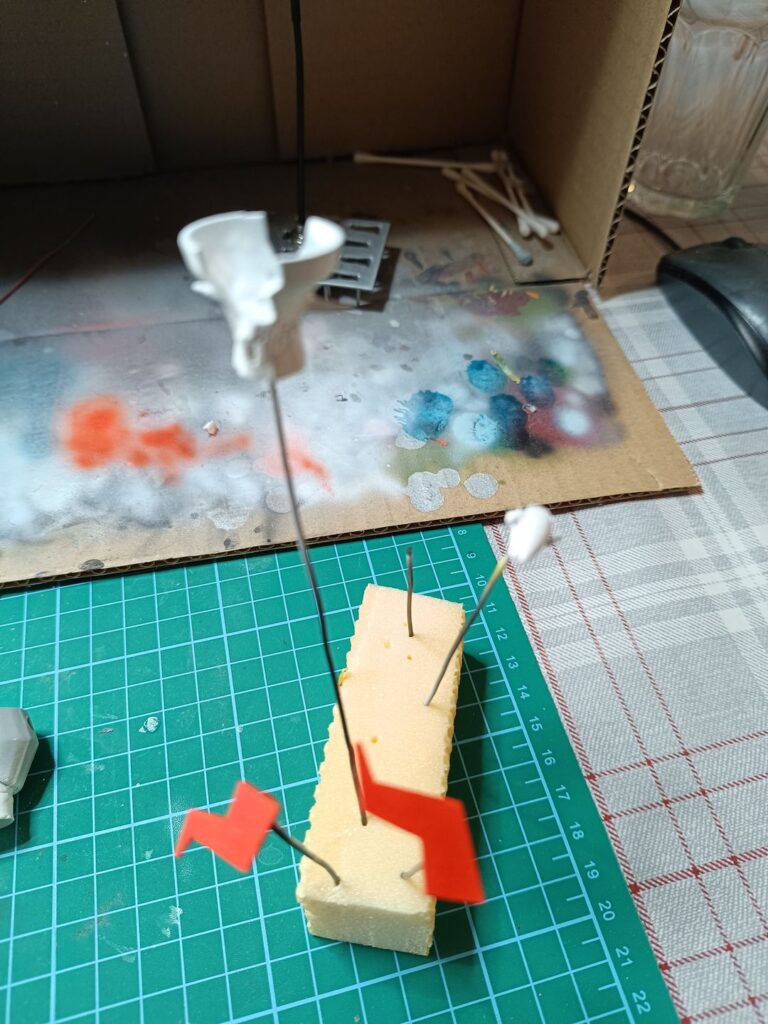
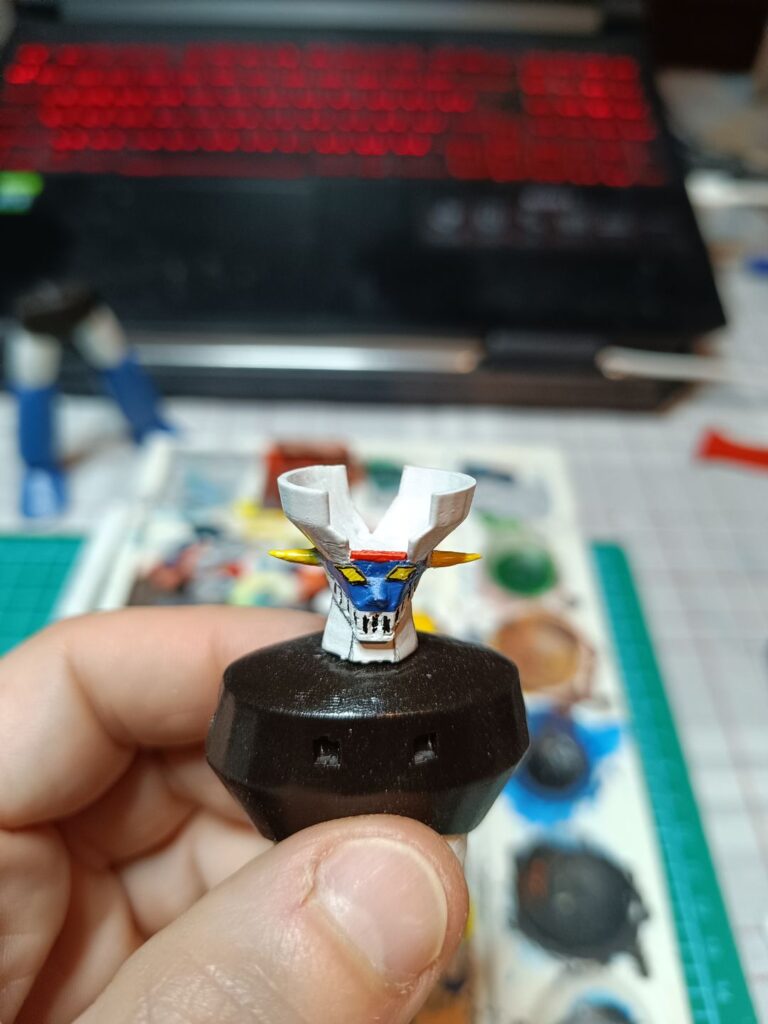
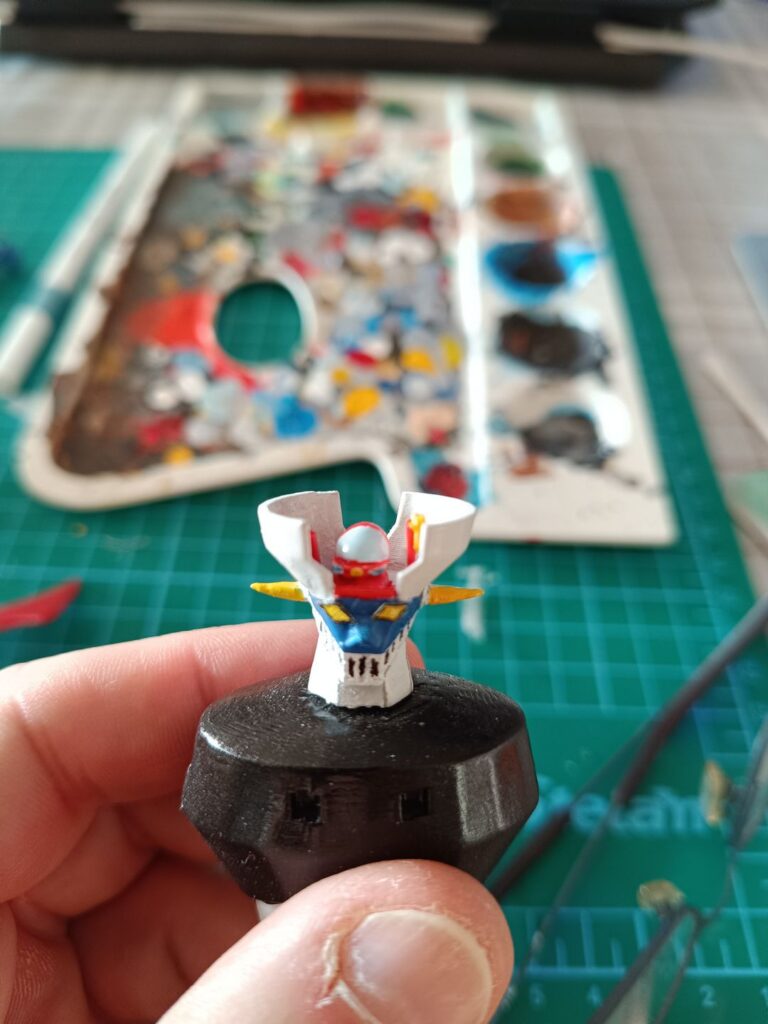
Then the little parts, like the Hover Pilder, the breast gamma and the head.

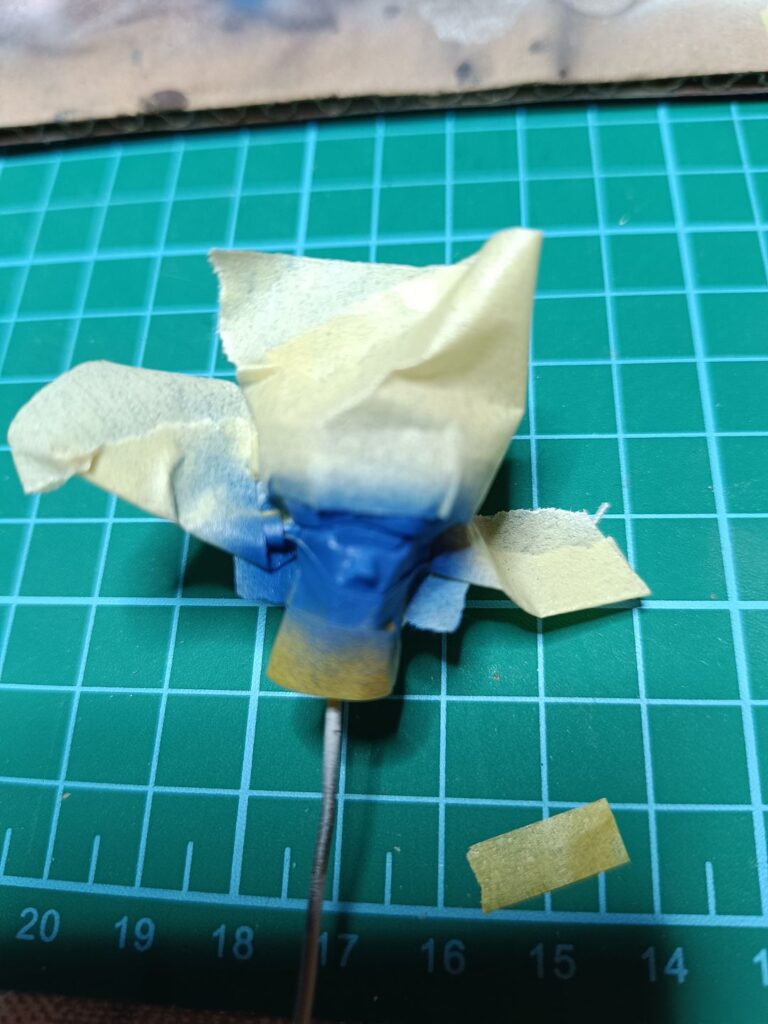
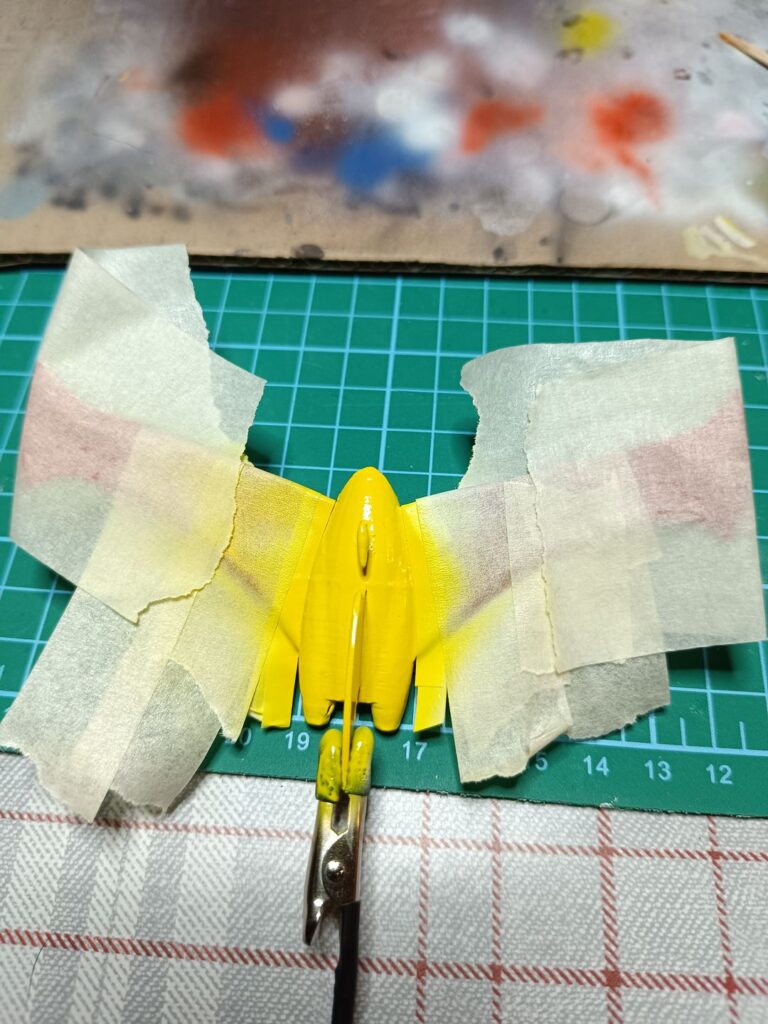
This is the Jet Scrander.
After I finished all the parts I detailed a bit the Head with permanent markers and applied a matte transparent coat to proceed with some shading with a white pencil to add some details on legs and arms.

A final coat of gloss transparent paint, a base (printed also and painted in Black) and the model is finished.
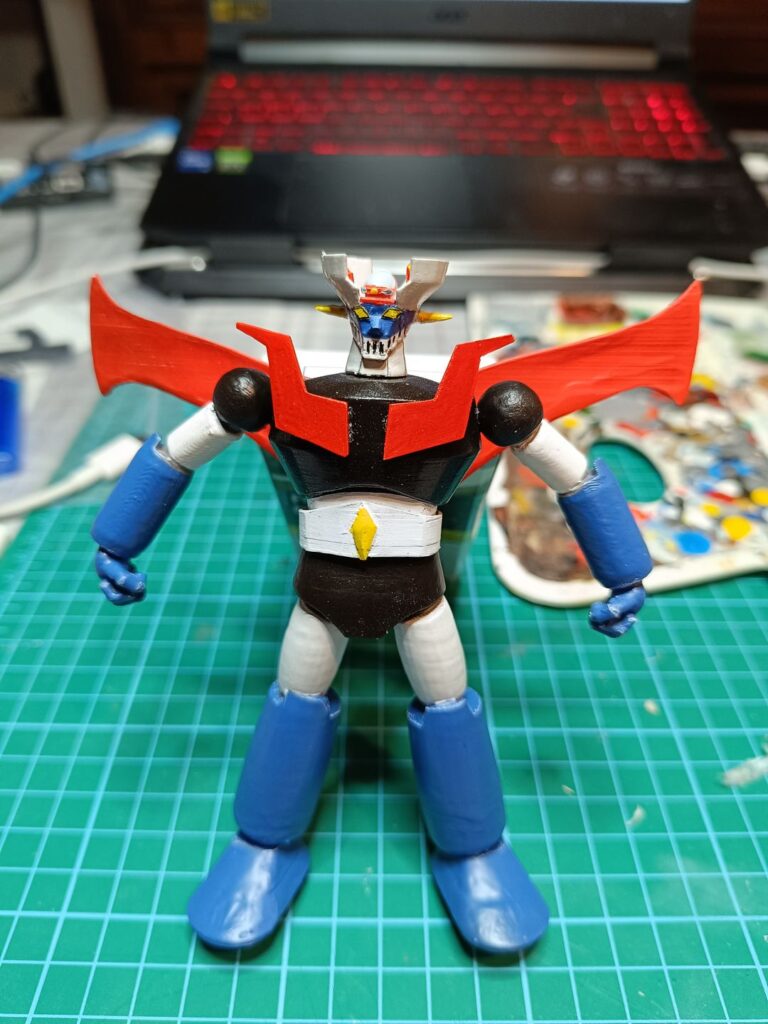


Hope you enjoyed the build.
![]()
Related posts:
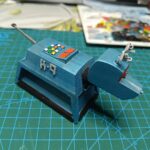 Printing and modeling K-9 from Doctor Who
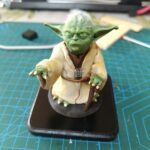 Master Yoda from Star Wars Printed with 3D printer
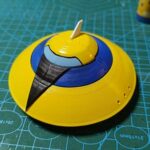 Printing and Painting of the TFO of Koji Kabuto in Grendizer
 Printing and Painting of Quantum X-01 Power Armor from Fallout
 Klingon Bird of Prey AMT No. 1400M scale 1:350
 Unboxing of Creality Ender Neo 3 V2 3D Printer
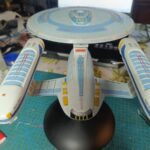 Building of the USS Enterprise NCC-1701-C from AMT 1332M 1:1400
 Printing and Painting of Grendizer
 Eagle Transporter from Space:1999
 Star trek USS Excelsior NCC-2000 from AMT (1:1000 1257)
Leave a Reply